Opening the Create Geometry Tool
The create geometry tool within Detect3D can be accessed by the add items tab or by right clicking the Geometry header in the Project Items Tab and selecting Create New Geometry.
From the Add Items Tab:
-
Choose Geometry from the dropdown menu.
-
Select Create New from the Select Method option. The Detect3D window now appears as the image below. The transparent grid represents the plane (known as a "canvas") which you are currently working on. Pressing the Tab button on your keyboard toggles between the three Cartesian planes.
-
Alternatively, you may right-click on Geometry and select Create New Geometry
There are 4 tabs on the left panel of create geometry tool which categorize the varying capabilities:
-
Canvas - This tab will allow you to define a plane on which you can then draw and create objects on.
-
Images - Allows you to import images and orient/scale them appropriately for your project. The images can then be used to aide in creating geometries.
-
2D Lines - Here you can add and copy 2D shapes (polylines, circles, arcs, etc).
-
3D Surfaces - This tab allows you to add 3D shapes such as cubes, spheres, and cylinders as well as create 3D shapes from 2D lines which you have already made.
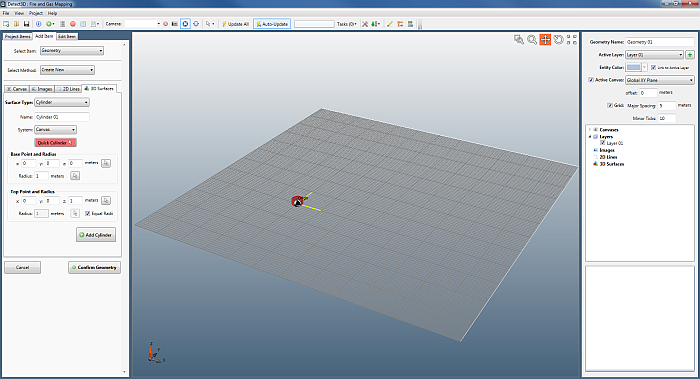
Image 1 - Create Geometry Tool showing the active canvas to draw on.