Resolution vs. Refinement
Increasing resolution adds rays to the field-of-view by reducing the degrees of rotation between each ray, thus casting the rays closer together and providing better coverage.
Increasing refinement adds rays where the edges of obstructions are detected based on the initial set of rays cast at the defined resolution. Therefore, the refinement relies heavily on the spacing (or degrees of rotation) of the rays that are initially cast. If the geometry is complex, and has sharp edges and small pieces, then having a coarse initial resolution (of 2 degrees) but with 4 levels of refinement may not be an effective strategy. This is because the edges of obstructions could exist between the initial rays cast and therefore be “lost” from the point of view of further refinement.
The two images directly below show that for geometries with lower complexity (such as the Small Module.obj), increasing the refinements while keeping a low resolution is fairly close to the results obtained by solely increasing the resolution.
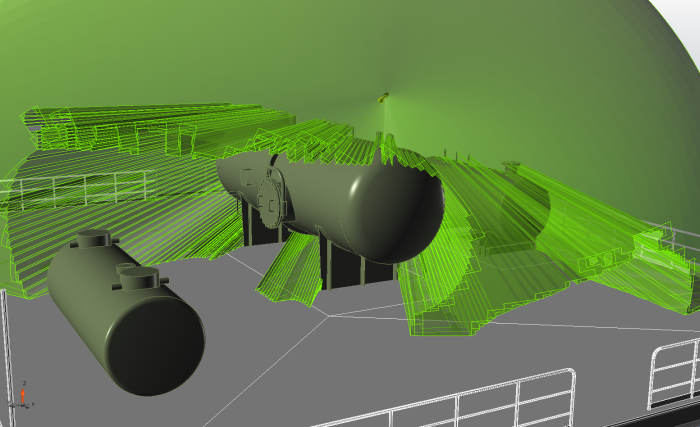
Image 6 - FOV with resolution of 2 degrees and 3 refinements (34,840 rays)

Image 7 - FOV with resolution of 0.25 degrees and 0 refinements (260,821 rays)
However, some areas in more complex geometries (like helicopter blades shown below) are not fully accounted for when only refinement is increased. The red arrows indicate regions that the field-of-view should see the helicopter blade.
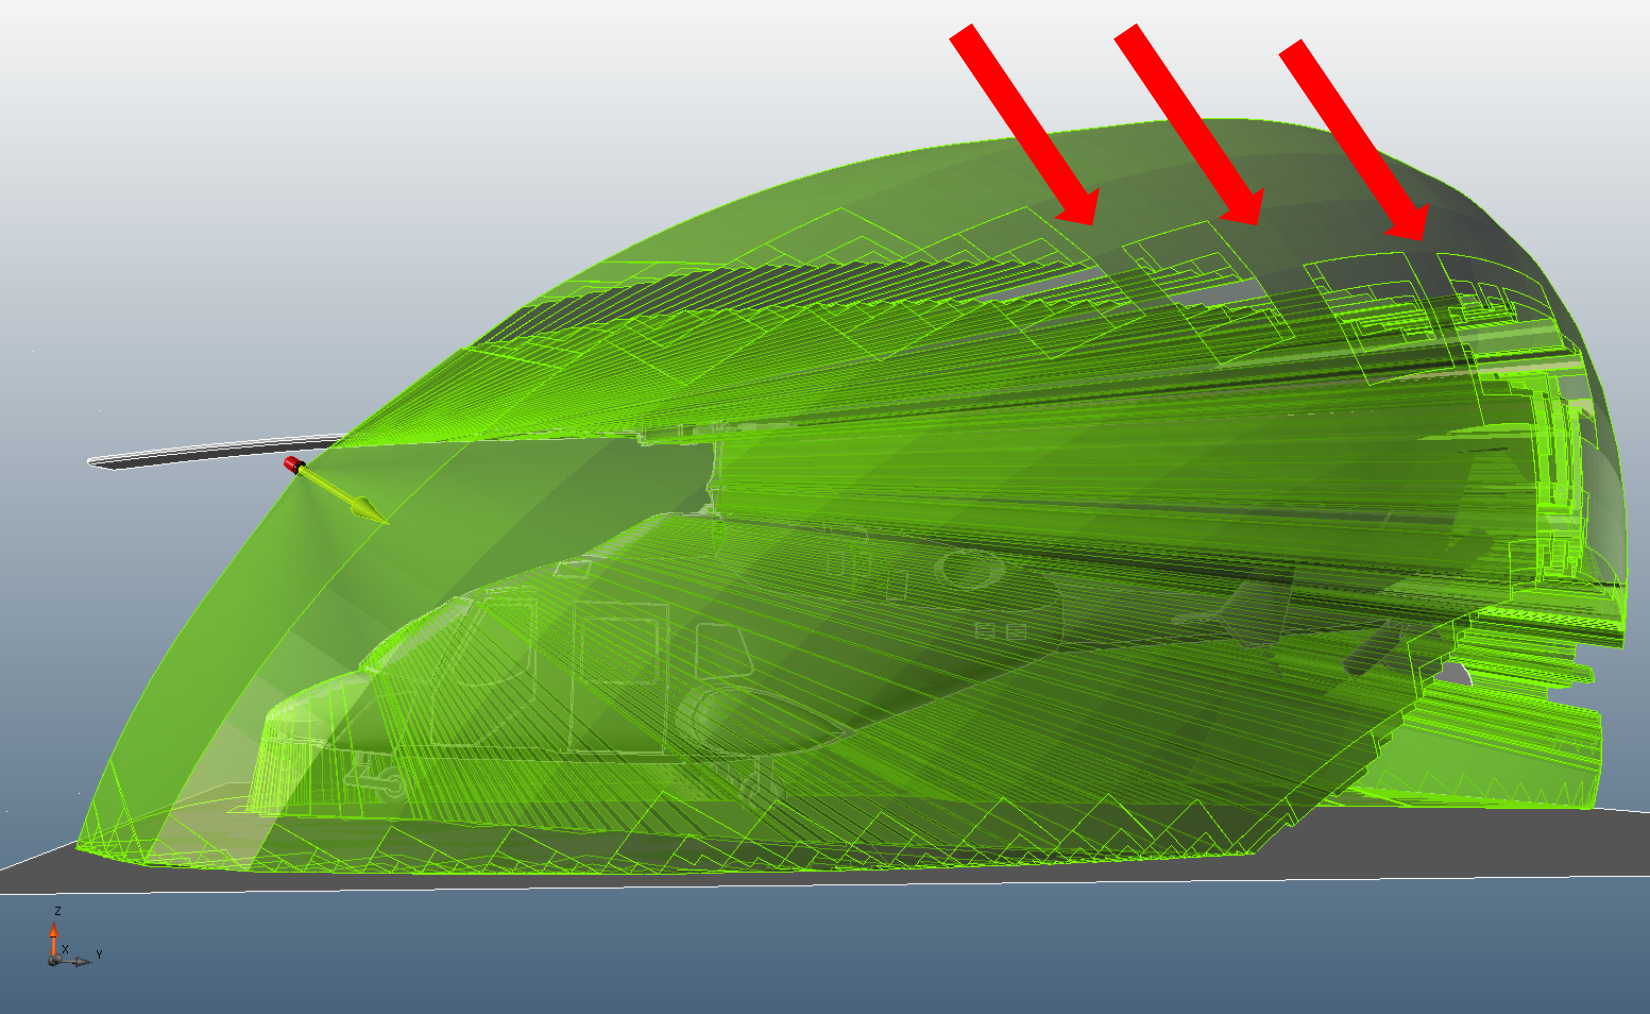
Image 8 - FOV with resolution of 2 degrees and 3 refinements
This can be prevented by increasing the resolution of the field-of-view and not the refinement (as shown in the image below with 0.25 degrees set as the resolution with 0 refinements). For increased accuracy, resolution should ALWAYS be increased first and if more definition is desired refinement can be added.
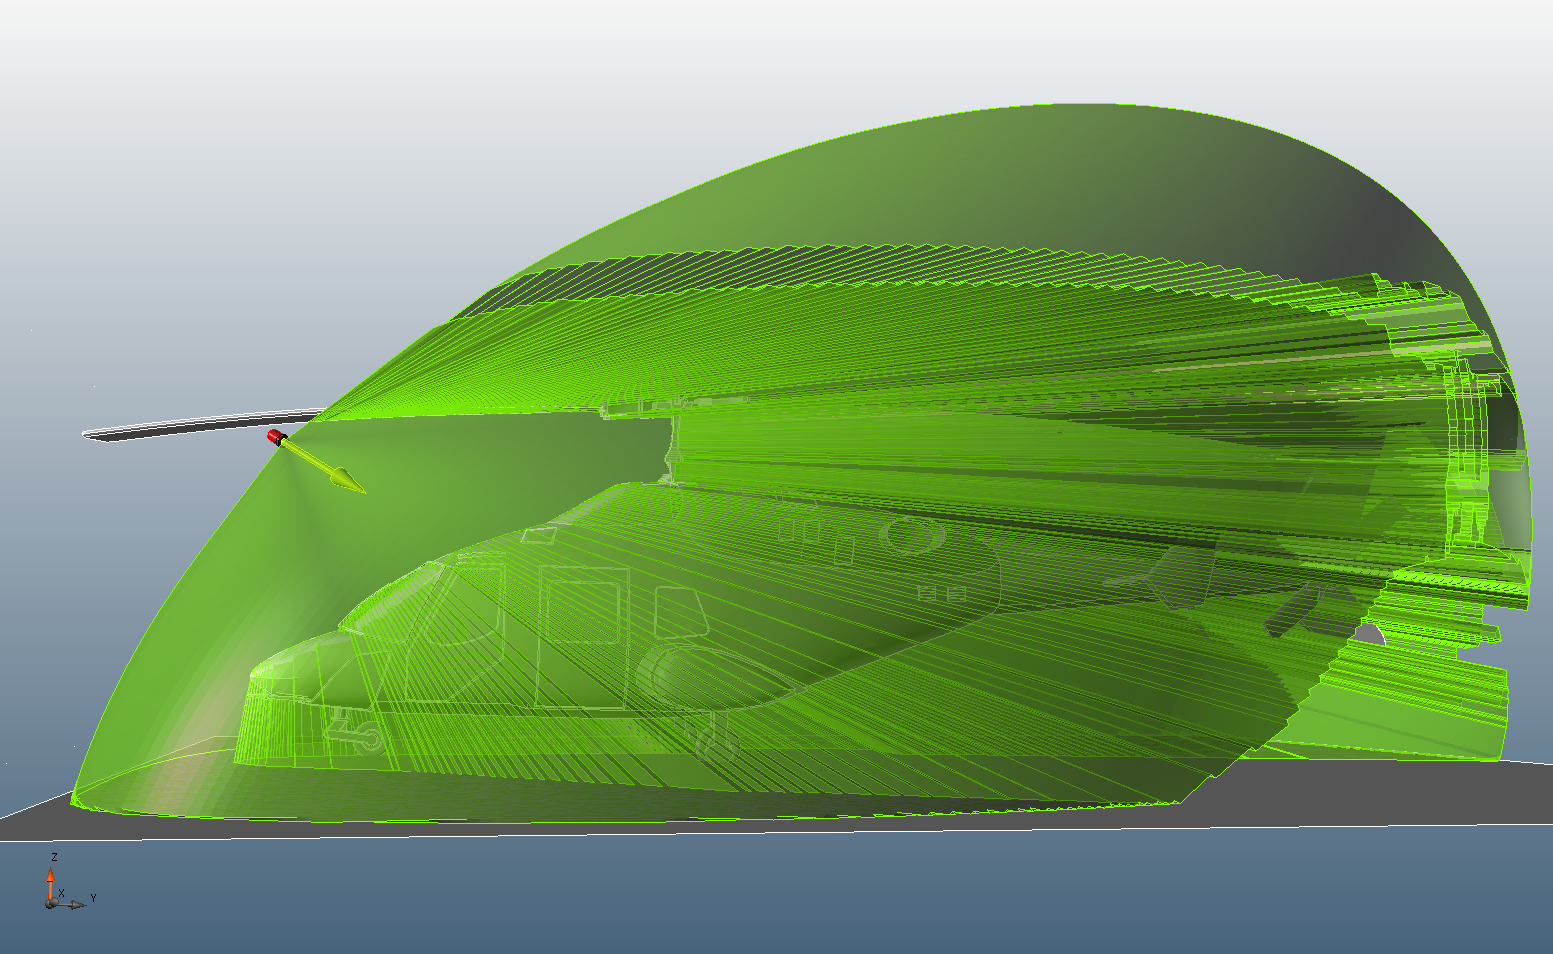
Image 9 - FOV with resolution of 0.25 degrees and 0 refinements
Continuing from the previous section:
-
Select the First Detector name from the project items tree.
-
In the properties panel set the value on the Resolution to 0.5.
-
Set the value of the Adaptive Refinements to 2.
-
Click anywhere on the screen to verify that a new value has been entered.
-
Click the
 button on the toolbar, or right click First Detector and select
  from the menu that appears.
 -
Once updated, under the Appearance header of the First Detector properties panel click on or off the varying checkboxes so that Show Direction, Show Model, Show Obstructed FOV, and Visible, are selected.
The resulting FOV is quite defined and accurately accounts for all the slightest changes in the geometry.
The next section will discuss fire zone resolution.