Label Re-Positioning and Resizing
At times the labels for project items may be blocking important information or visuals. To resolve this issue, you may opt to re-position the label of a project item by hovering your mouse over the label. Once the label turns a light-blue color (after 1-2 seconds of hovering) then you may re-position the label by using click+drag on the label and dragging it to the new desired location. The figures below show this process for a label of a detector that is slightly hindering the view of the direction vector.
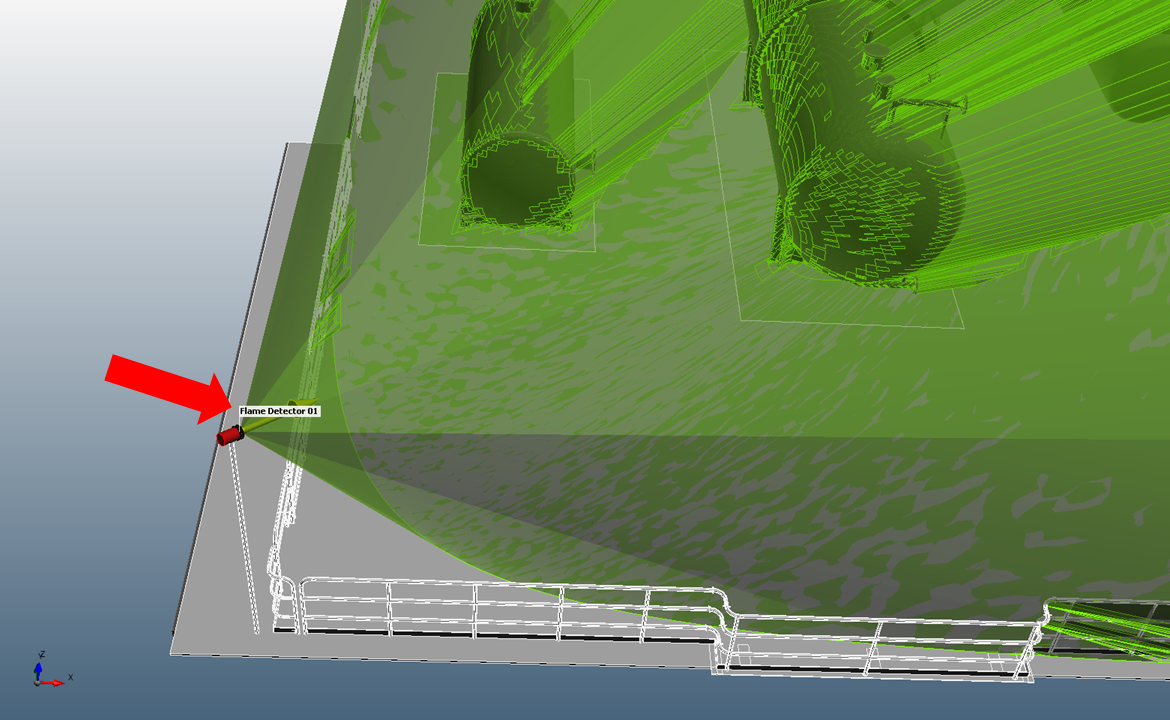
Indication of the label covering part of the detector
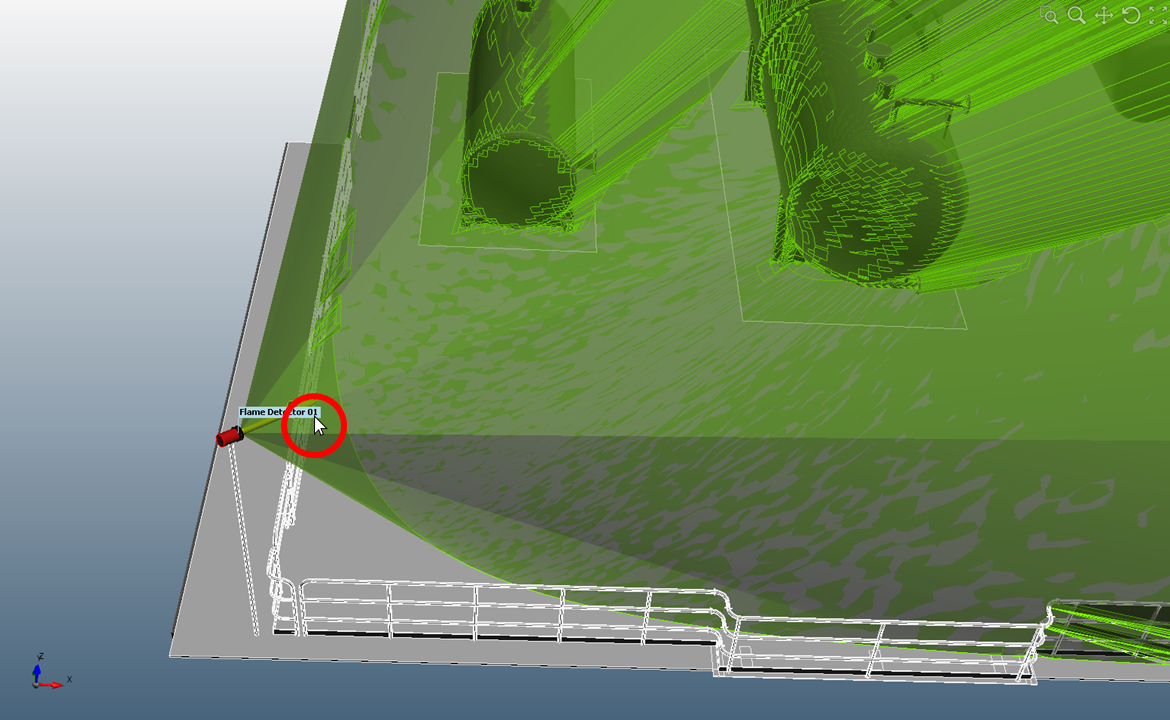
Hovering the mouse over the label until it turns light-blue, then click+drag to re-position
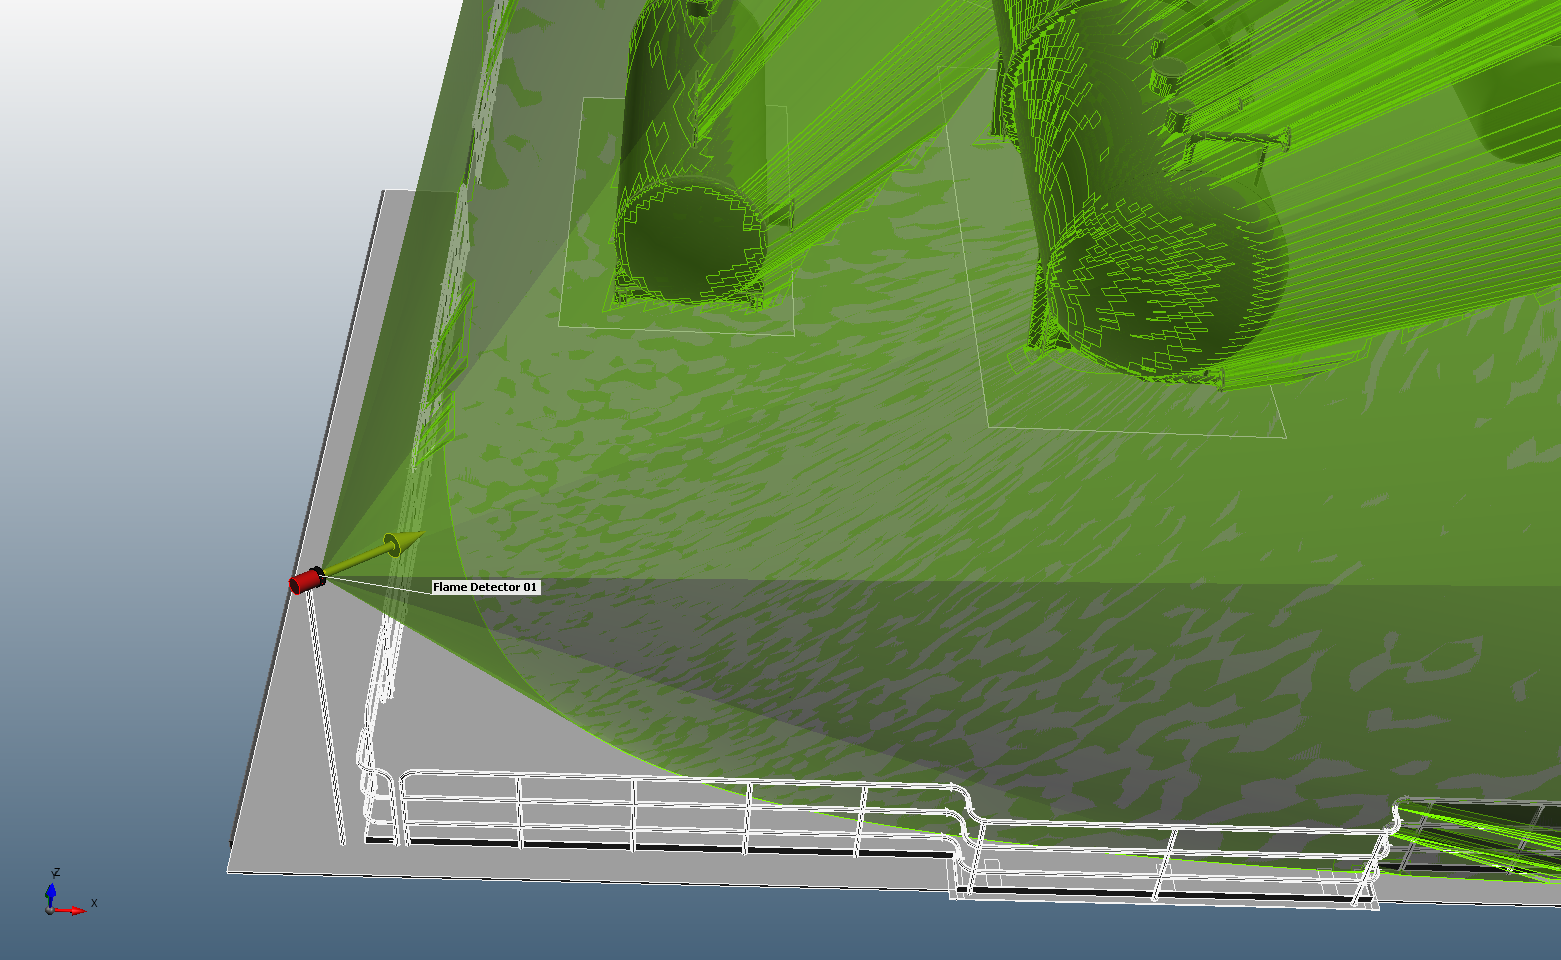
The label after being positioned to not block the view of the detector direction
The direction and orientation of the new label will be saved. The label will retain its text size and always be facing you in the 3D window. You may change the text size and label coloring from the settings panel shown in the images below. You may also opt to have a transparent background. The default options are a white background with black text, if it is changed it will be saved to the project file you are working on.

Indication of the Project Settings section where label text size and coloring can be changed.
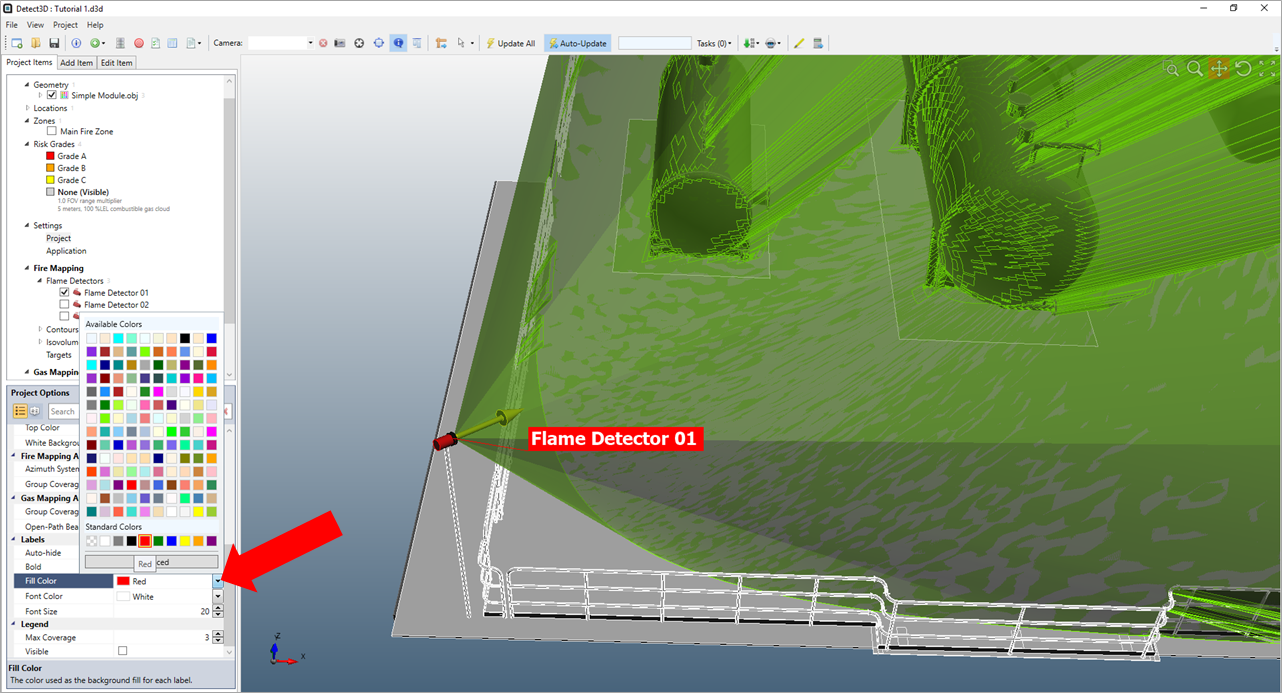
Showing an increased text size to 20 with white font and a red Fill Color. Click the dropdown menu to the right of the property you want to change to open the color palette.