Saving Camera Position
Saving Camera Position
Occasionally, it becomes tedious and cumbersome trying to position the 3D window in exactly the desired spot. To facilitate report writing and positioning within the 3D window, a save camera option can be selected from the View Menu or by right-clicking
in the 3D window and choosing Add Camera (![]() )
)
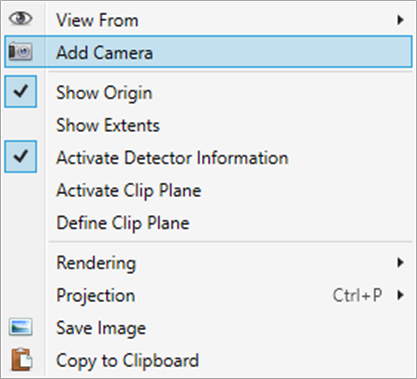
Selection of the Add Camera option in the right-click menu of the 3D window
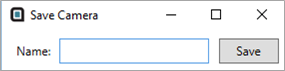
Upon selection, Detect3D will prompt you to name the camera window to be saved.
Once saved, you can then select the named camera angle in the Camera dropdown menu on the toolbar, or by right-clicking in the 3D window and selecting it from the View From (![]() ) option. You will notice that there already are some figures listed in the tutorial save files, these correspond to the figure numbers in the tutorials.
) option. You will notice that there already are some figures listed in the tutorial save files, these correspond to the figure numbers in the tutorials.
This feature also becomes useful when creating reports. You may save each camera as a figure in your report so that you may refer back to it later if a project item has changed.