Changing Project Item Opacity
Every item’s color and transparency in the project can be changed. Detect3D’s default colors and transparency values have been selected for best contrast, ease of use and understanding. Contours and isovolume opacity values can be changed directly in their properties panel. The below steps will go over changing the opacity value as occasionally isovolumes cover equipment or areas of interest.
To change the transparency of the isovolume:
-
Click the 0ooN Isovolume (Main Fire Zone) under the Fire Mapping -> Isovolumes heading in the project items tree.
-
Under the Appearance header in the properties panel decrease the Opacity level to "100". A value of 255 on the opacity scale represents a solid color and 0 is fully transparent.
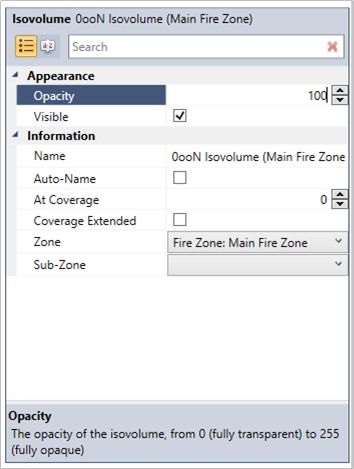
Tutorial 1 - Figure 24 - Change the transparency/opacity of an object from the properties panel
The black zero visibility isovolume now allows for more equipment under and behind it to be seen and should resemble the image below.
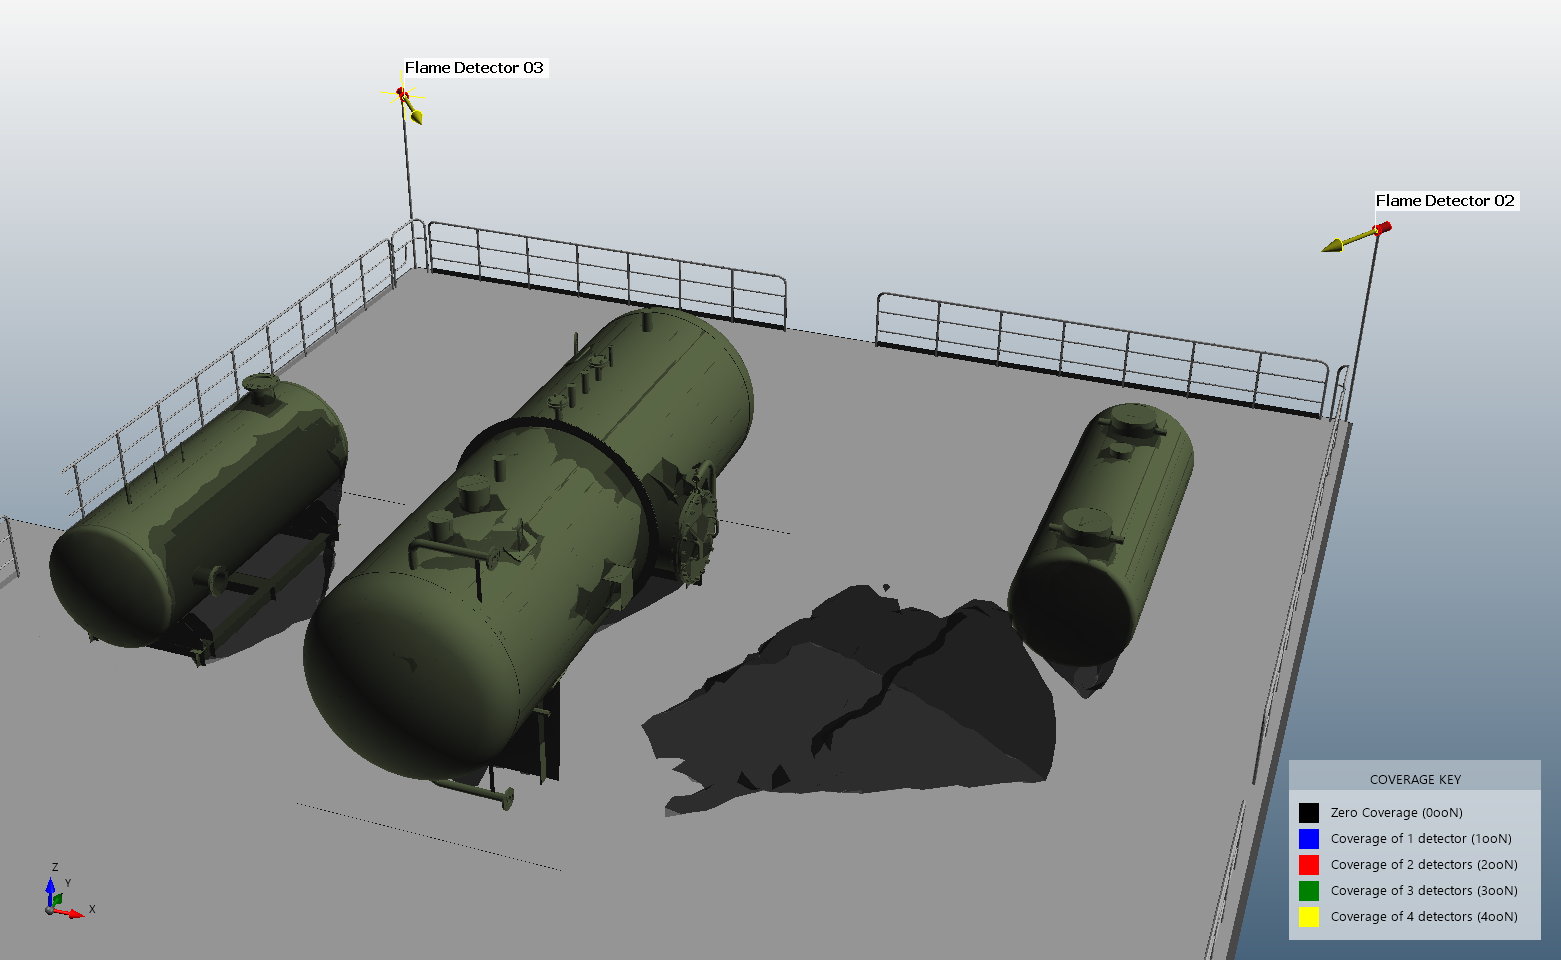
Tutorial 1 - Figure 25 - Updated isovolume of the blind spots (0ooN coverage region) with a lower opacity (higher transparency)
You have now completed Tutorial 1 and should understand how to:
-
place multiple flame detectors by entering coordinates manually
-
use the point pick tool
-
add locations
-
add contours and isovolumes
-
change opacity values of contours and isovolumes
When you have finished viewing the results close the project.