FOV Limiter
Some flame detector brands have a limiter placed at the top of the detector in order to reduce the potential of alarm to due flares and other radiation sources at higher elevations.
Clicking the Use FOV Limiter checkbox (indicated in the red box in the below image) will enable this ability when adding a flame detector model. Two values are needed: Limiting Up Angle, and Limiting Horizontal Angle. These values will change the space in the field-of-view which is cut out by the limiter. The preview window indicates the removed region (where the red arrows are pointing). A value of 10 degrees for the Limiting Up Angle will limit the Up Angle's upper edge by 10 degrees. Similarly, a value of 10 degrees for the Limiting Horizontal Angle will limit the Horizontal Angle by 10 degrees from center line.

Tutorial 10 - Figure 13 - Preview of an FOV model with an FOV Limiter applied
Clicking the View in 3D button in the preview window will open a preview of the 3D FOV model (shown below).
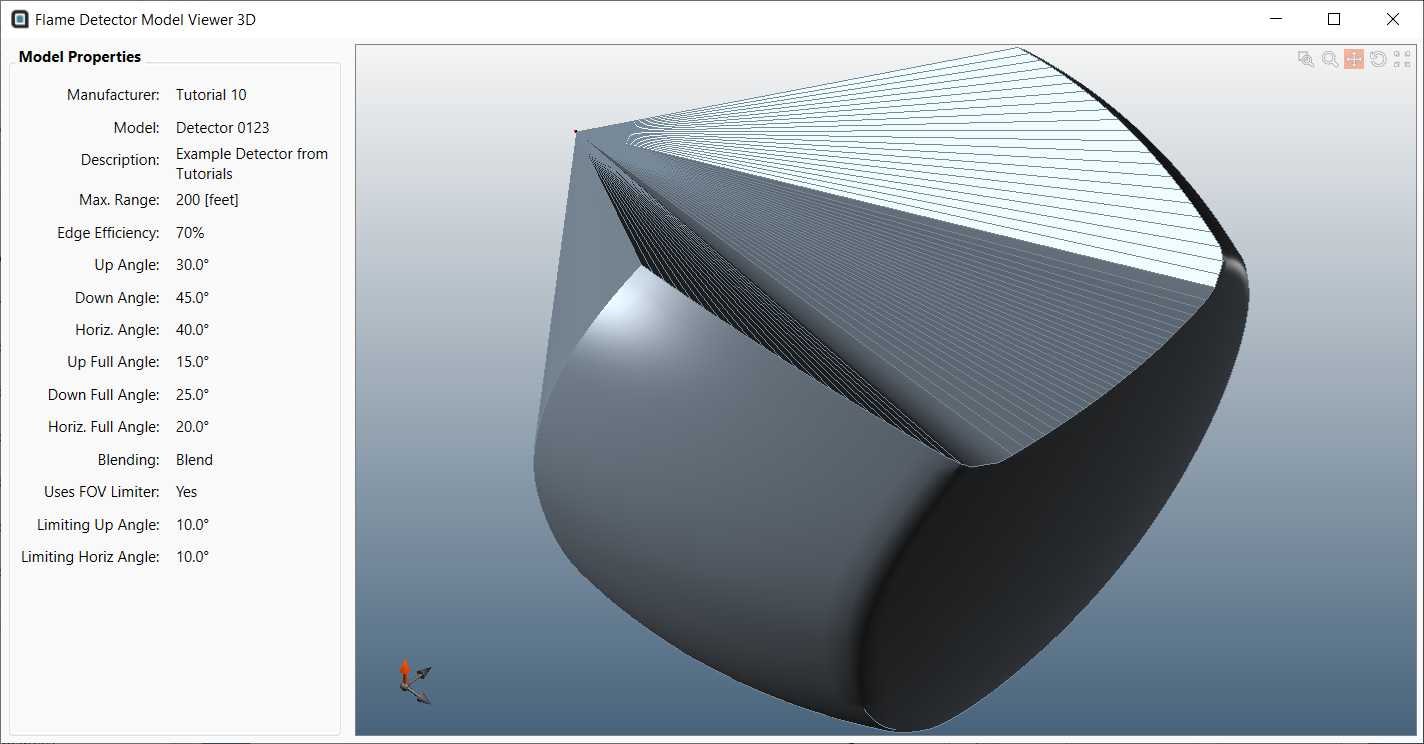
Tutorial 10 - Figure 14 - 3D view of the FOV with a limiter added
Uncheck the Use FOV Limiter checkbox in your model to remove the limiter from the Tutorial 10 detector model.
Now that the main Field-Of-View Properties have been entered:
-
Close the preview window, if you still have it open
-
Click the Add Item button to add the model to the database.
The Tutorial 10 flame detector model is now available for you to choose from when placing flame detectors in projects. This can be viewed by clicking the database icon on the toolbar ( ![]() ).
).