Setting up an Optimization Simulation
To set up an optimization simulation:
-
From the Project menu, select Optimize Layout and select Zone 01 defined earlier. Alternatively, you may click on the optimization icon
 in the toolbar and select Fire Zone: Zone 01.
 -
After selecting the zone for optimization, the Optimization Controller will appear, shown below. The controller has the properties of the optimization on the left and a set of tabs on the right which will display information about the running optimization.
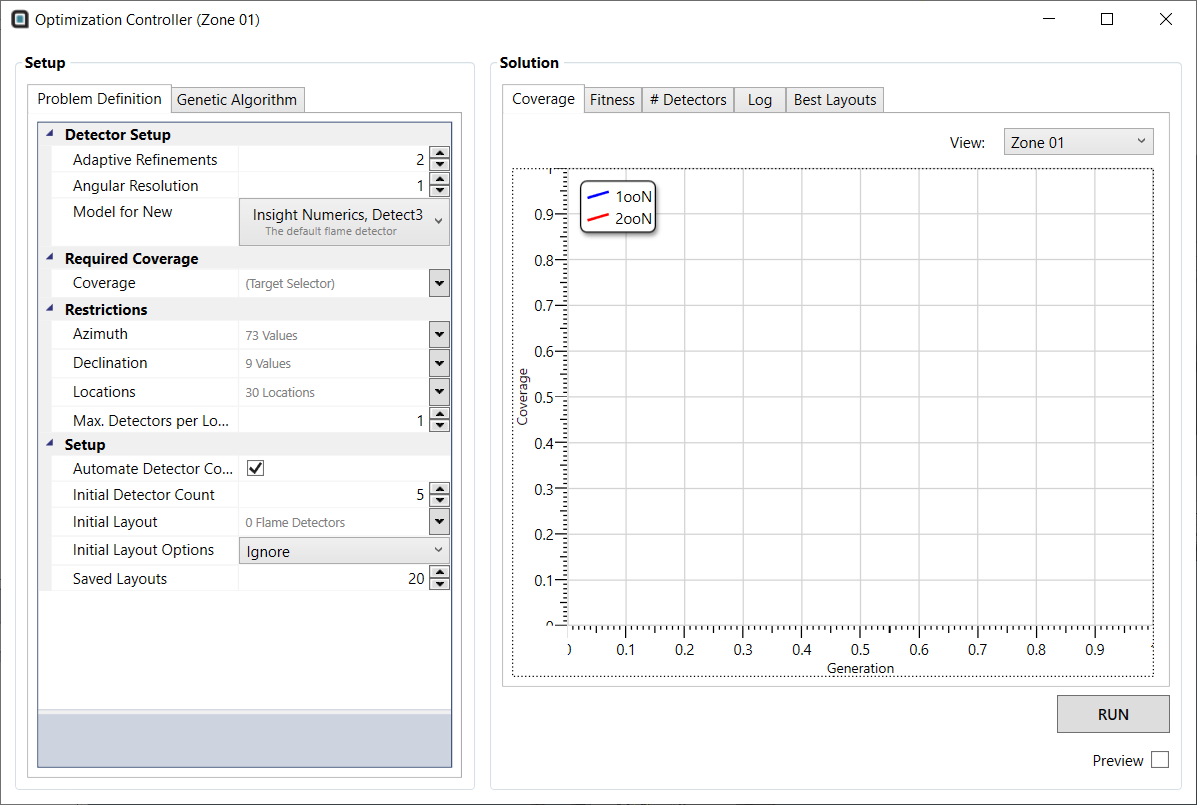
Tutorial 12 - Figure 08 - Optimization Controller with default values
-
Set the target coverage for Zone 01 to 90% 1ooN and 50% 2ooN by expanding the Coverage Property under the Required Coverage heading, shown below.
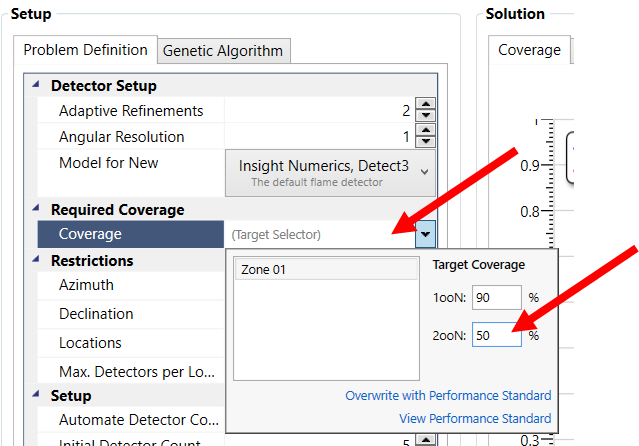
Tutorial 12 - Figure 09 - Setting the target coverage for the optimization simulation
No further changes to the setup are required, for optimizing a new layout. The default values for the optimization have been chosen for ease of use and so that a simulation can be set up quickly.
The next section will start the optimization simulation.