Grid Overlay
A grid overlay option for the 3D window is available for v3.1 of in:Flux and v2.60 of Detect3D and later.
This option can be toggled on and off similar to the clip plane by clicking the (![]() ) icon on the toolbar. If you are not currently in Orthographic mode, you will be prompted to do so. The perspective can
be changed from the view menu or by pressing Ctrl+P on the keyboard.
) icon on the toolbar. If you are not currently in Orthographic mode, you will be prompted to do so. The perspective can
be changed from the view menu or by pressing Ctrl+P on the keyboard.
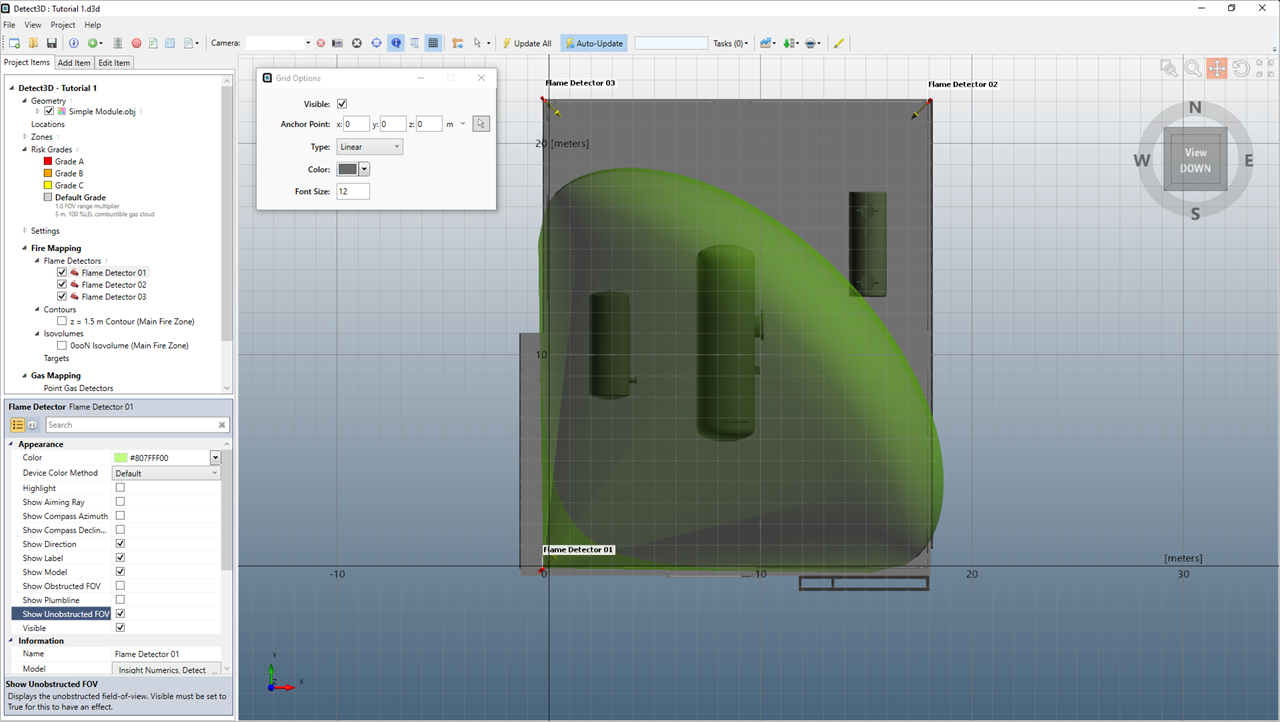
Upon activation a linear grid will appear as well as the Grid Options window. The grid spacing and units shown is based on how zoomed into the window you are, example shown below for a Detect3D project.
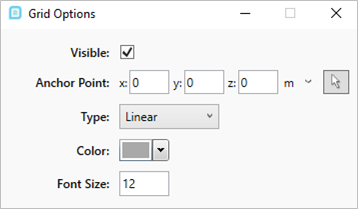
There are various features which can be changed in the Grid Options window:
-
Visible - toggles the visibility of the grid overlay. This is synced to the button on the toolbar.
-
Anchor point - sets the starting coordinates of the grid overlay, rather than the default origin. The pick tool can be used to set the anchor as a leak location or flame detector location for instance.
-
Type - linear and radial grid options are available
-
Color - sets the color of the grid lines and text
-
Font size - sets the size of text on the grid
Note, toggling the visibility off of the overlay from the toolbar will close the Grid Options window. Click the toggle button again to open the window back up.
Grid Overlay Examples

Default option shown above with grid centered at origin with linear option selected
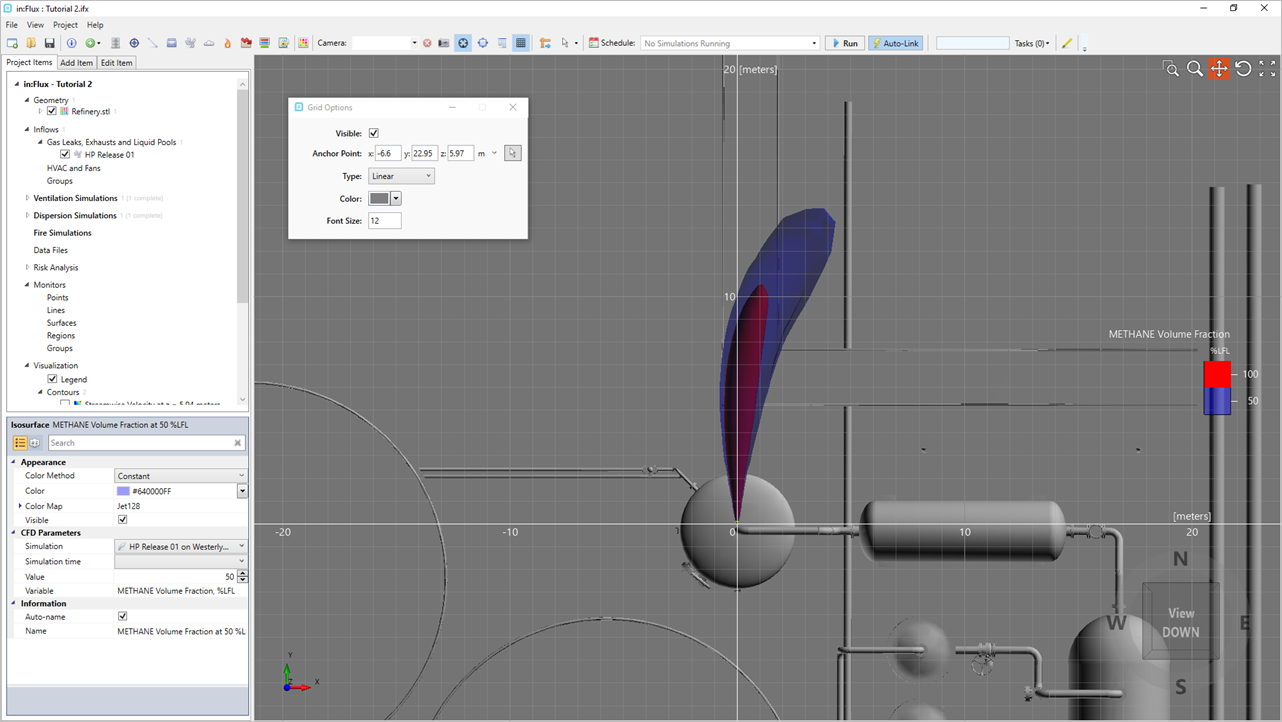
Anchor point in the above has been set to the leak location showing the length of the 50%LFL plume

Type set to radial grid in the above with the anchor point set to the leak location
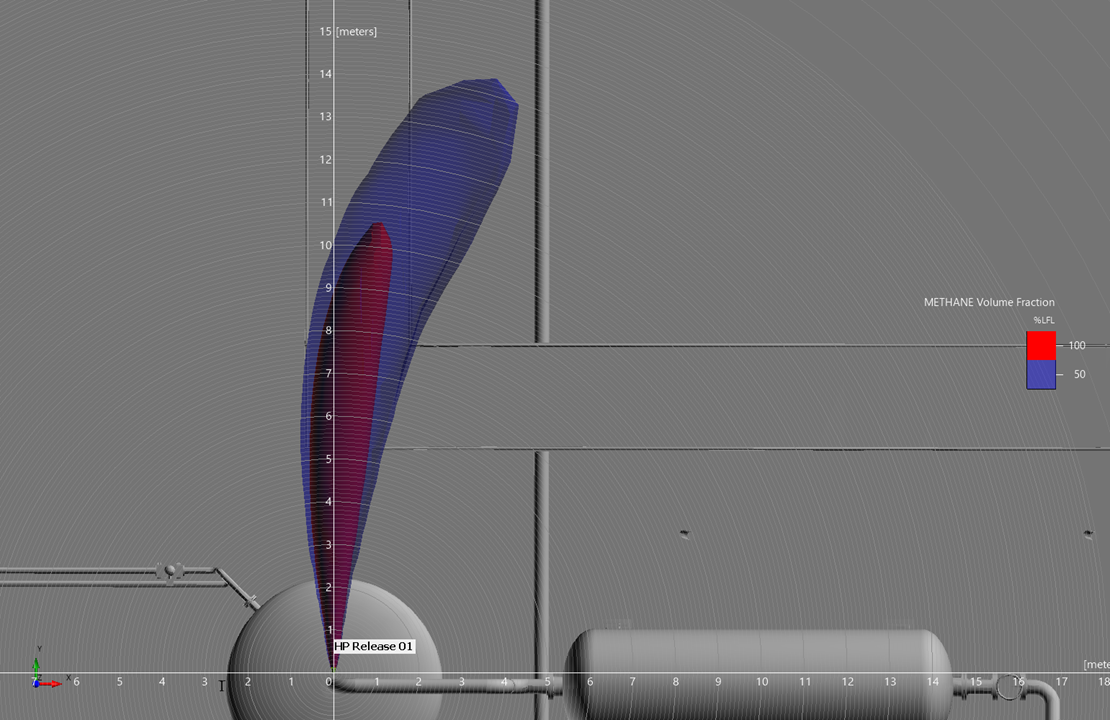
Screenshot of zoomed in view for radial grid centered at leak location.
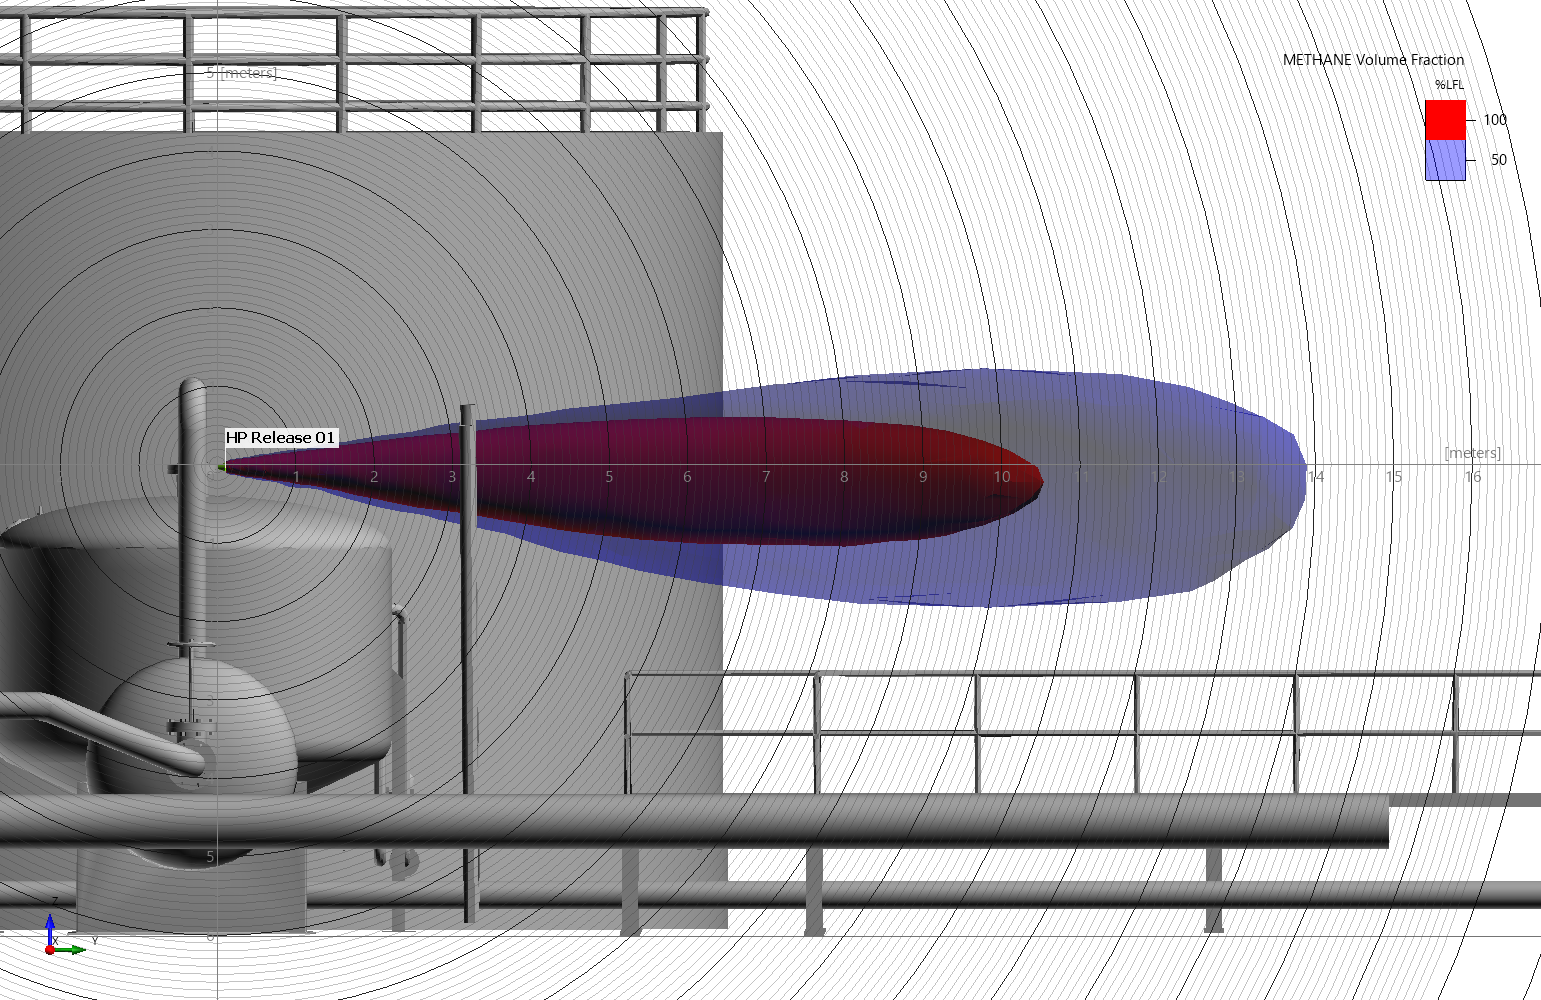
Screenshot of side view of radial grid centered at leak location with legend set to Top Right
Screenshot of linear grid overlay over a flame detector location