Post-Processing with Cloud Data
With the simulations complete, we can perform post-processing in the same way as if the simulations were local. The small exception to this is that the license key used for running the simulations with in:Flux Cloud needs to be entered to perform post-processing operations.
Add an isosurface for one of the dispersion cases:
-
Right-click on isosurfaces under the Visualization section in the Project Items Tab and select Add Isosurface
-
Choose a simulation to display, to match this tutorial you can select HP Release 03 on Northerly, 3m/s
-
Leave the Variable as Flammable Gas Volume Fraction, %LFL
-
Set the Value as " 20 %LFL"
-
Change the color to be semi-transparent by changing the alpha channel.
-
Click Add Item
A window will appear stating it is retrieving data from the simulation and then the visual will appear.
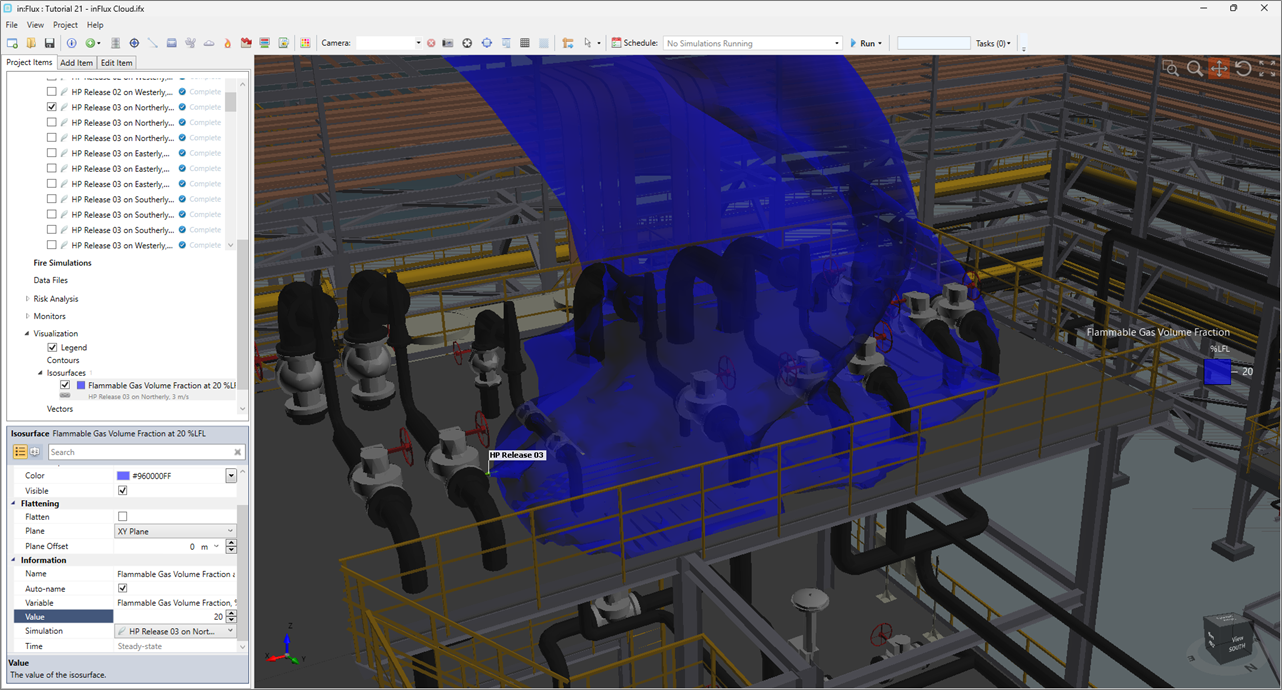
Tutorial 21 - Figure 14 - Isosurface of simulation that was run with in:Flux Cloud
A Monitor Region was already defined in this project prior to running the simulations. This means that in:Flux updated the monitor data as cases completed. Open the Volume Analysis Window to view all the resulting gas cloud sizes for the 120 dispersion cases. Notice how there was no need to update the monitor to see all the results.
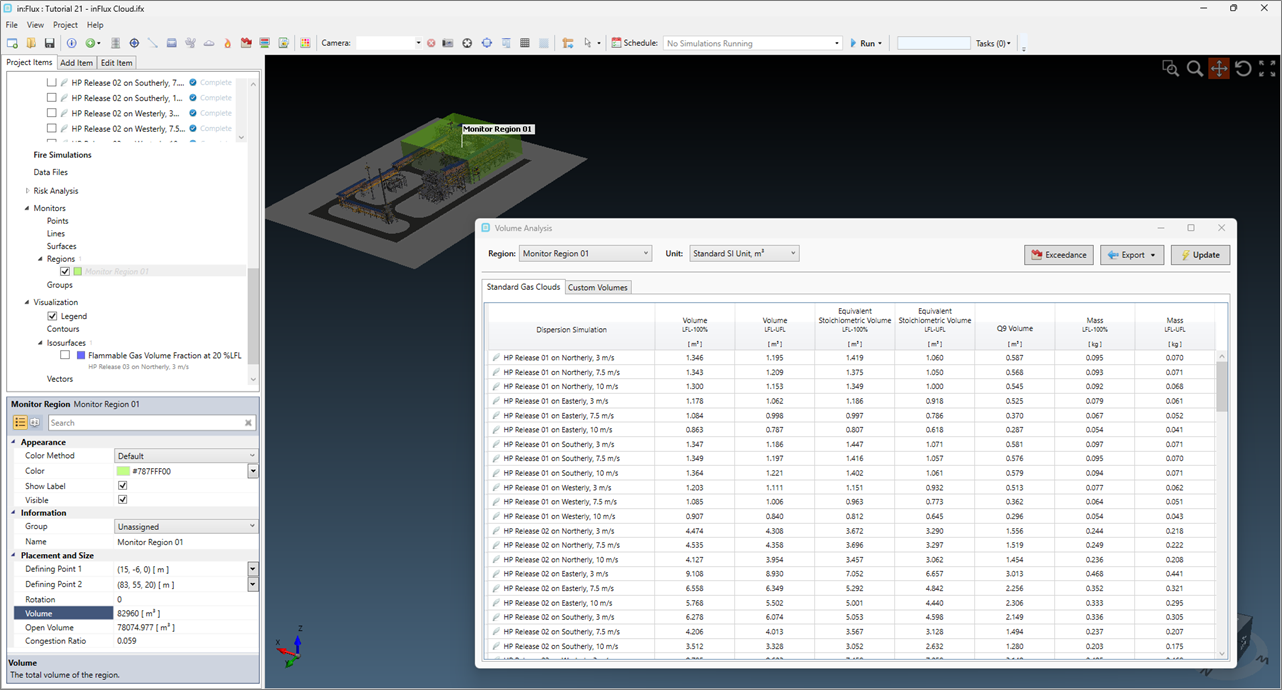
Tutorial 21 - Figure 15 - Monitor Region data showing volumetric results for the cases completed
Continue to the next section to define some monitors and a new risk data set then have in:Flux update the project data using in:Flux Cloud.