Adding a Contour
For this tutorial we will be adding two contours, one on a vertical plane and a second on a horizontal plane.
To add a vertical contour to your project:
-
Click the Add Item tab and select Contour from the dropdown menu.
-
The Name will be automatically set by Detect3D
-
Set the Zone to Gas Zone: Main Gas Zone
-
Select YZ Plane from the On Plane dropdown menu.
-
Enter "10 meters" as the Offset at: value
-
Set the System option to Global. This changes the offset distance to be relative to the global coordinates rather than the position of the zone, which will match the coordinates of the detectors. Meaning that the defined plane will cross through Point Gas Detector 01 and Point Gas Detector 02 as both their x-coordinates are 10.
-
Leave the Coverage to be from 0 to 4
-
Select the Add Item button. Now in the 3D window a vertical contour is shown indicating coverage along the defined YZ plane. The blue coloring represents the region which is seen by one detector. This result can be expected as the default gas cloud size is set to 5 meters which is also the spacing between the two point gas detectors.
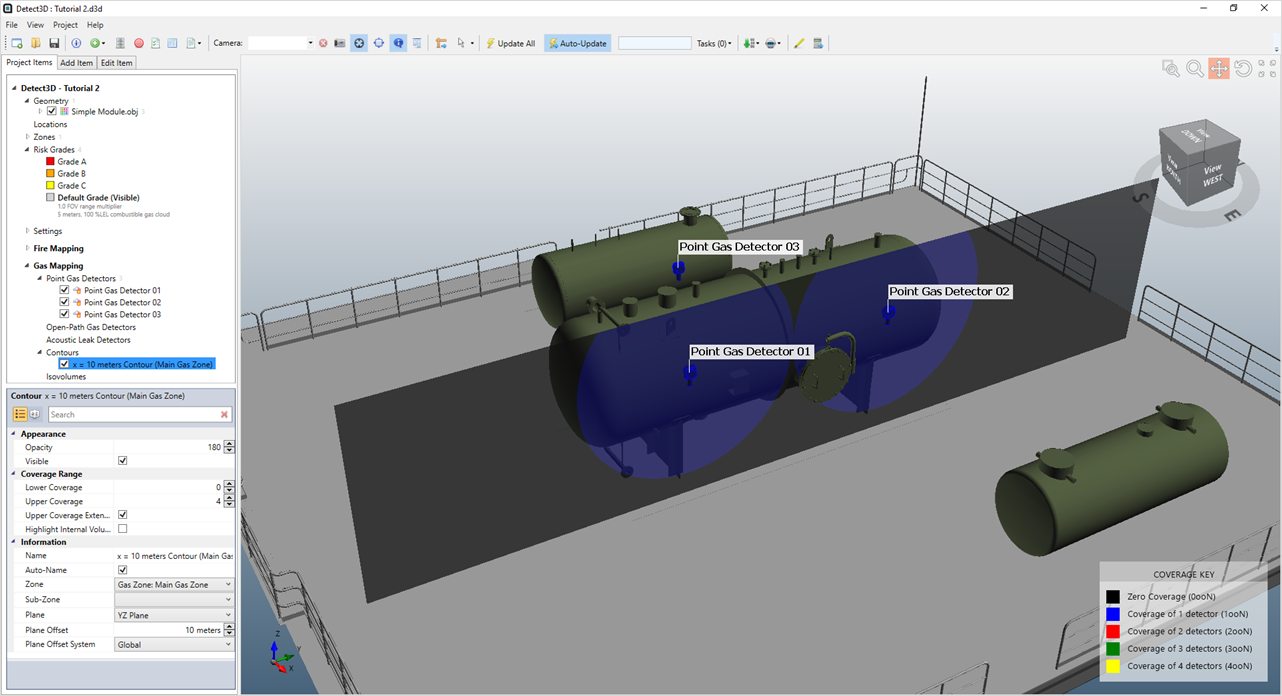
Tutorial 2 - Figure 06 - Vertical Contour showing coverage from gas detectors on the ZX plane
-
Add a second contour to the project, start by repeating Steps 1 - 3 above
-
Change the On Plane option to XY
-
Enter an Offset at: value as "Z = 3 meters", this places the contour at the same height as the devices.
-
Ensure that the System is set to Zone and click Add Item
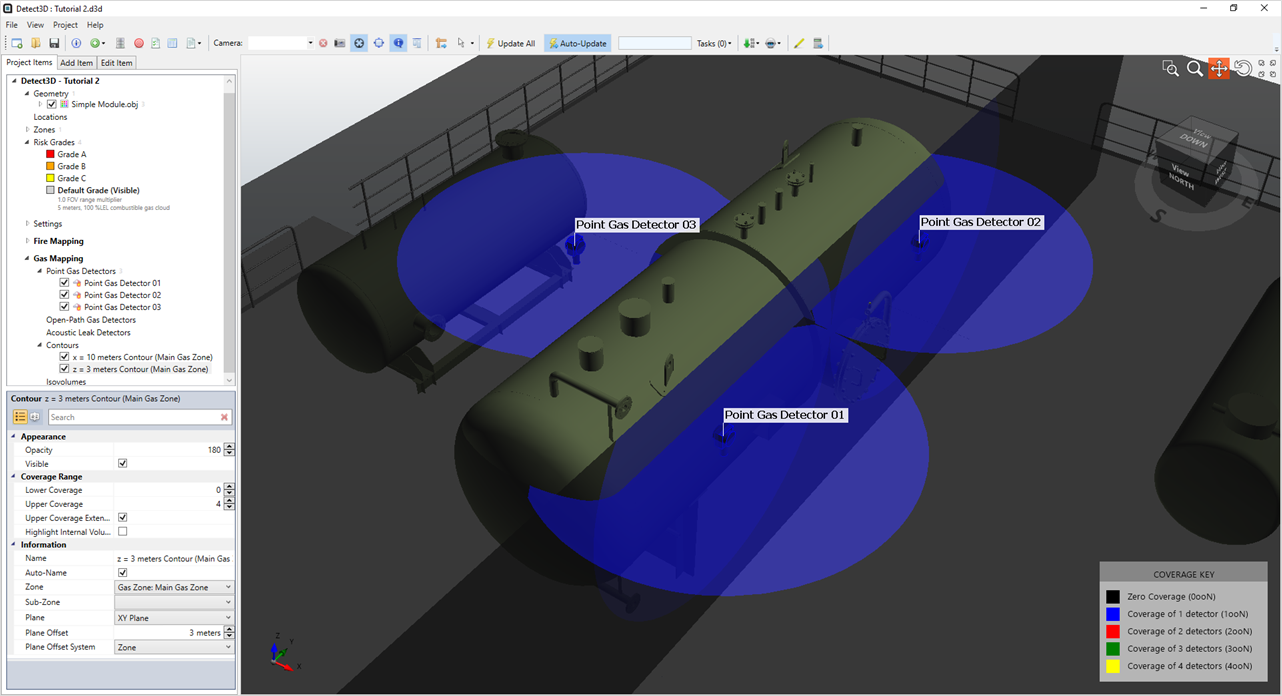
Tutorial 2 - Figure 07 - Horizontal contour positioned at the same height as the defined point gas detectors.
Contours can be added for any of the three Cartesian planes within the defined zone. Once defined, contour offset values can be changed from their properties panel by editing the Plane Offset value shown and then clicking the Update All button
( ![]() ) on the toolbar.
) on the toolbar.
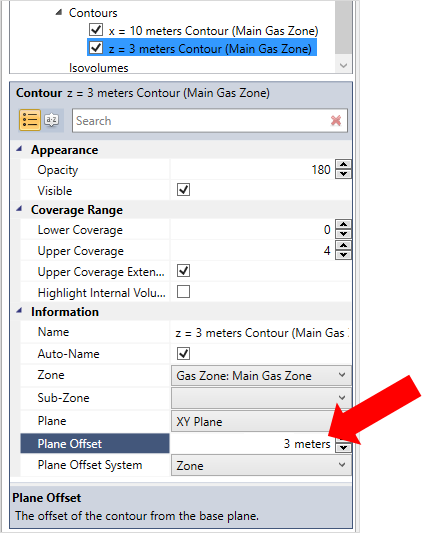
Tutorial 2 - Figure 08 - Indication of value to edit for relocating the height/position of an already defined contour
Although not shown here, isovolumes can also be defined for gas mapping projects in the same way as shown in Tutorial 1. Before continuing to the next section, turn off the visibility of the contours by deselecting the checkbox next to each.