Point Targets
Point targets are used to calculate the visibility of single points to flame detectors.
To add a point target:
-
From the Add Item tab choose Target (the last option) from the dropdown menu
-
Set the Name to "Target 01 - Small Tank Pipe"
-
Choose Point as the Type
-
Click the Point Pick Tool button
 and on the small tank between Flame Detector 01 and Flame Detector 03, select
the top of the pipe furthest from the origin as shown in Figure 02 below, or enter coordinates ( 2.88, 10.06, 2.63 ).
and on the small tank between Flame Detector 01 and Flame Detector 03, select
the top of the pipe furthest from the origin as shown in Figure 02 below, or enter coordinates ( 2.88, 10.06, 2.63 ). -
Select the Add Item button to add the point target to the Project Item tree.
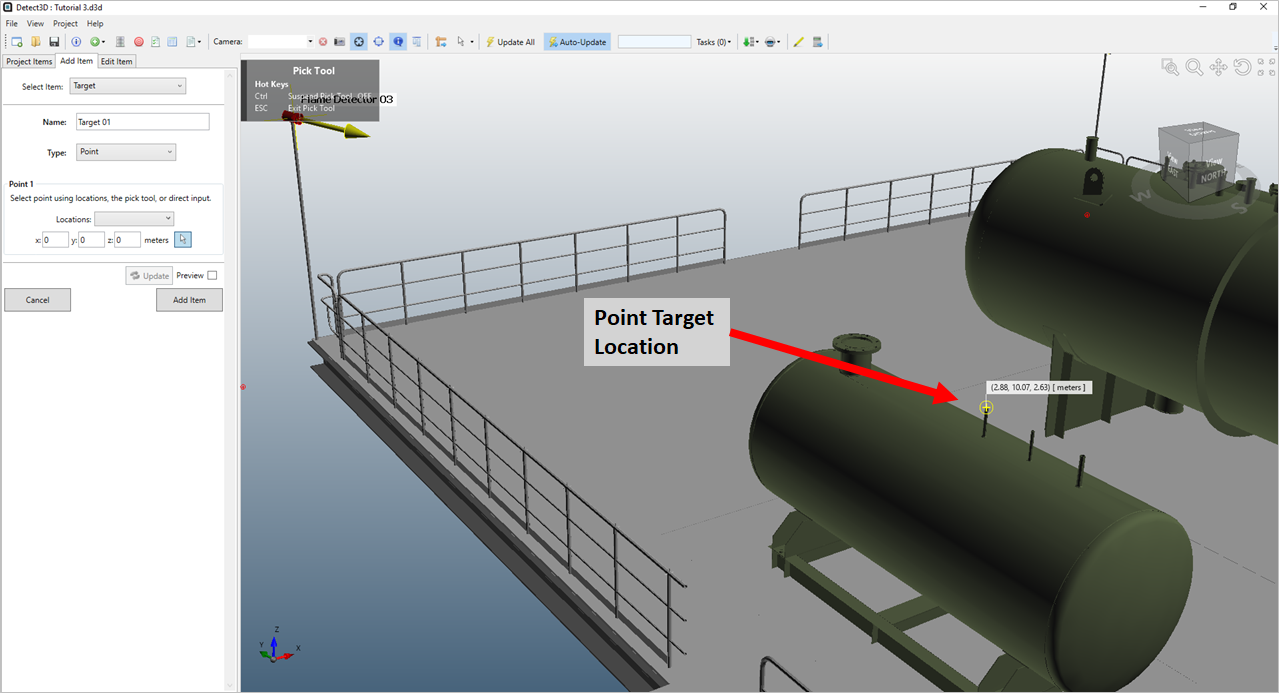
Tutorial 3 - Figure 02 - Location point of Target 01 - Small Tank Pipe on the western edge of the module
Select Target 01 - Small Tank Pipe in the Project Item tab and click the Show Label checkbox so that the label appears in the 3D window to help distinguish its location.
Click the target icon ![]() on the toolbar to view the Target Results Table (shown below) depicting which detectors can see the Target 01 - Small Tank Pipe point. The only detector
which does NOT see the point is Flame Detector 02 since the large middle tank blocks its view. The other detectors see the point target as there is a direct line of sight between the point and the detector without obstruction.
on the toolbar to view the Target Results Table (shown below) depicting which detectors can see the Target 01 - Small Tank Pipe point. The only detector
which does NOT see the point is Flame Detector 02 since the large middle tank blocks its view. The other detectors see the point target as there is a direct line of sight between the point and the detector without obstruction.
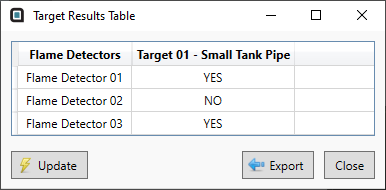
Tutorial 3 - Figure 03 - Target Results Table for the single point target
Continue to the next section to add a line target to the project.