Exporting Isosurfaces
Any created isosurface can be exported to an STL file to be used for visualization purposes with other software.
To export an isosurface:
-
In the Project Items Tab, right-click on the isosurface you wish to export
-
Select Export to STL
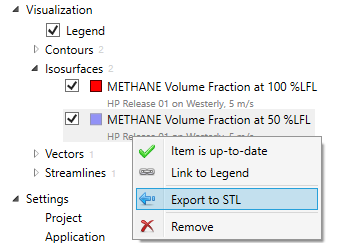
Tutorial 2 - Figure 24 - Context menu for exporting isosurface to an STL geometry file
-
Choose a location to save the file and give it a name and click Save.
The file can then be loaded into other software which accepts STL files. Below shows a screenshot of the Methane 50% LFL isosurface STL imported into Detect3D.
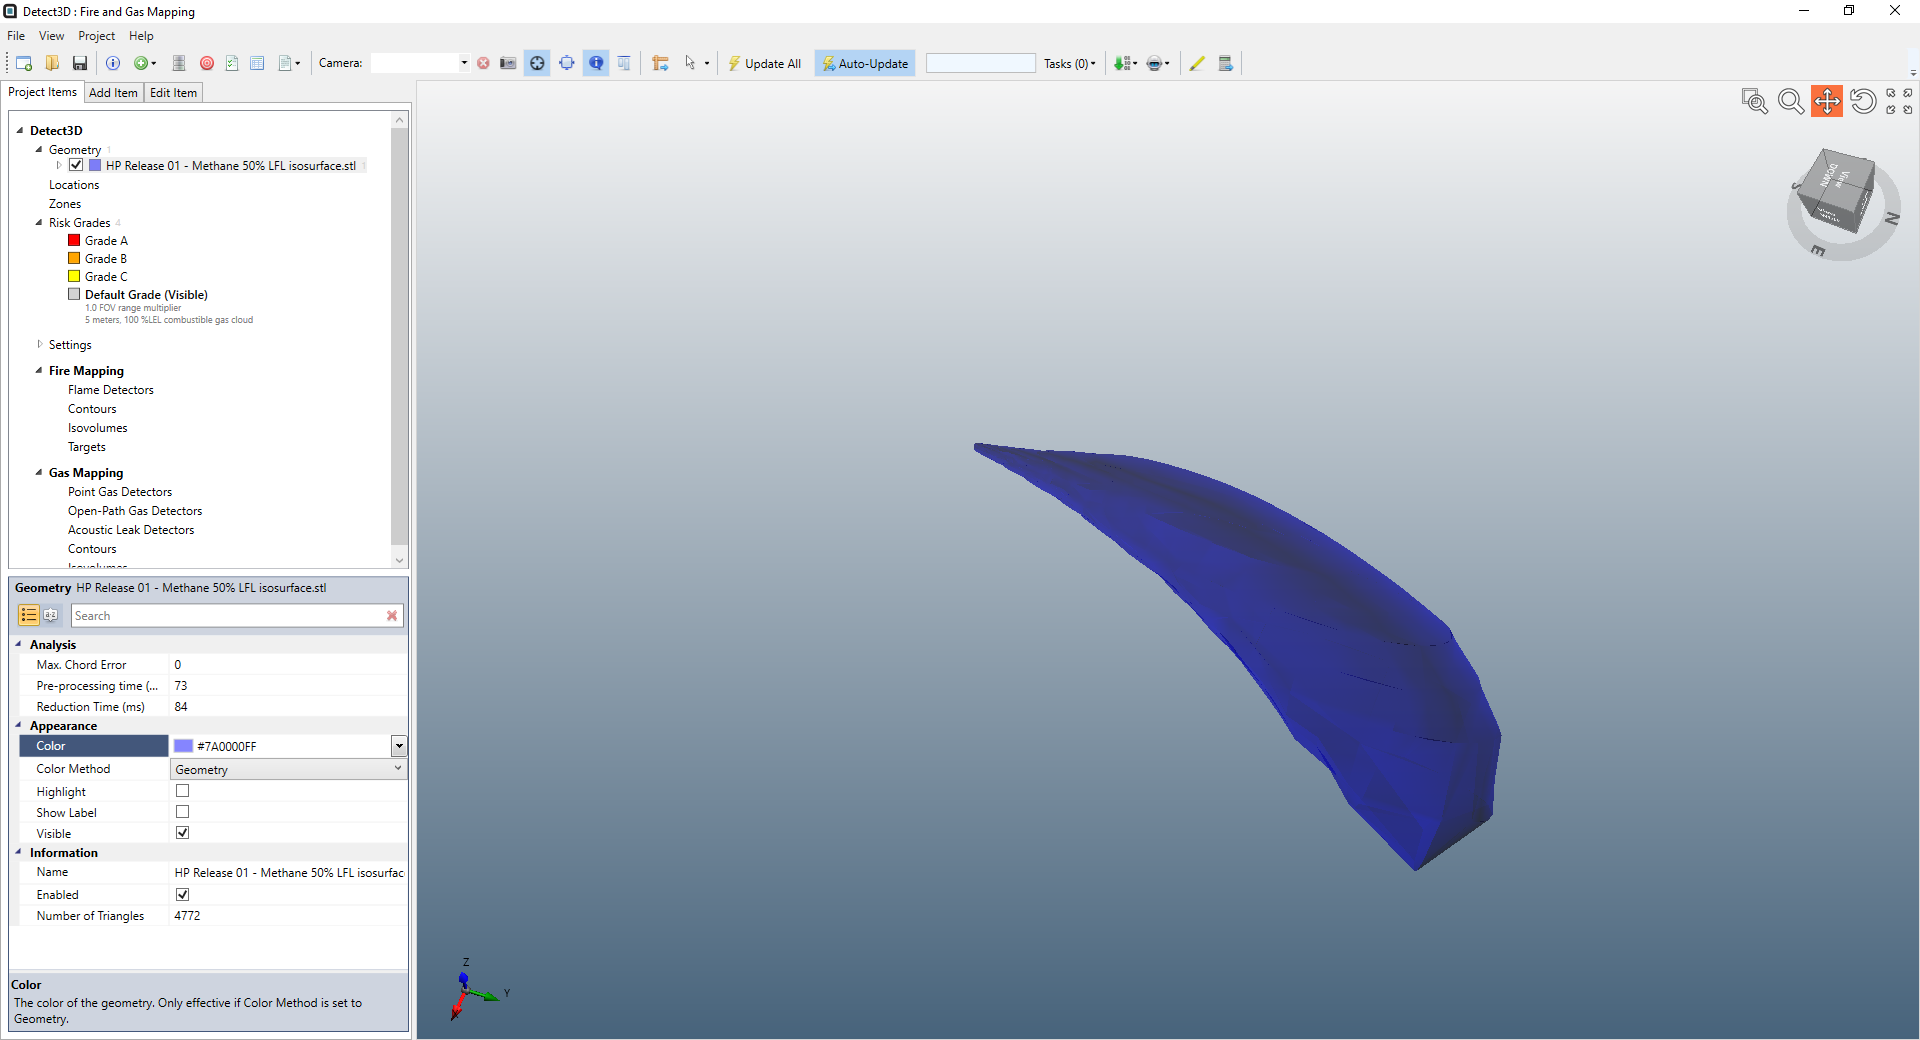
Tutorial 2 - Figure 25 - Detect3D window with loaded STL file of 50%LFL plume.
You have now finished your first dispersion simulation project with in:Flux.
Time spent understanding the process of setting up an inflow and running a dispersion simulation is time well spent, as later in the tutorials it will be shown how you can setup several simulations at the same time without any scripting or batch file creation. in:Flux has been developed to handle thousands of dispersion cases on large scale projects with highly complex geometries.
In the next tutorial, monitor points will be added to the project to extract data on percent concentrations at varying locations around the facility.
Save your Tutorial 2 file before continuing as this file will be used in Tutorial 3.