Loading a CAD model from an in:Flux Project File (.ifx)
Notice that when importing a new CAD model, you may opt to select Insight Project Files. This means that if you have already imported a CAD model into a Detect3D (.d3d) or in:Flux (.ifx) project (or created one from a plot plan), you may choose to import the CAD model from that .d3d or .ifx file into a new project.
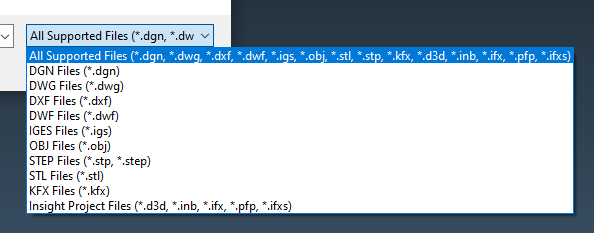
Tutorial 9 - Figure 01 - Available formats for CAD import to in:Flux, inclusive of d3d and ifx files (listed at the bottom of the above image).
In a new in:Flux project, right-click on Geometry and select Import 3D CAD from the menu option. Navigate to the in:Flux tutorials directory and select "Gas Turbine Enclosure.ifx" file. Alternatively, this may be selected from the Help Menu under the Load Sample Geometry section.
Your 3D window should appear with a building as in the figure below. This file was created using in:Flux's CAD Creation Tool. Follow the link to view the documentation about the geometry creation capabilities within in:Flux.
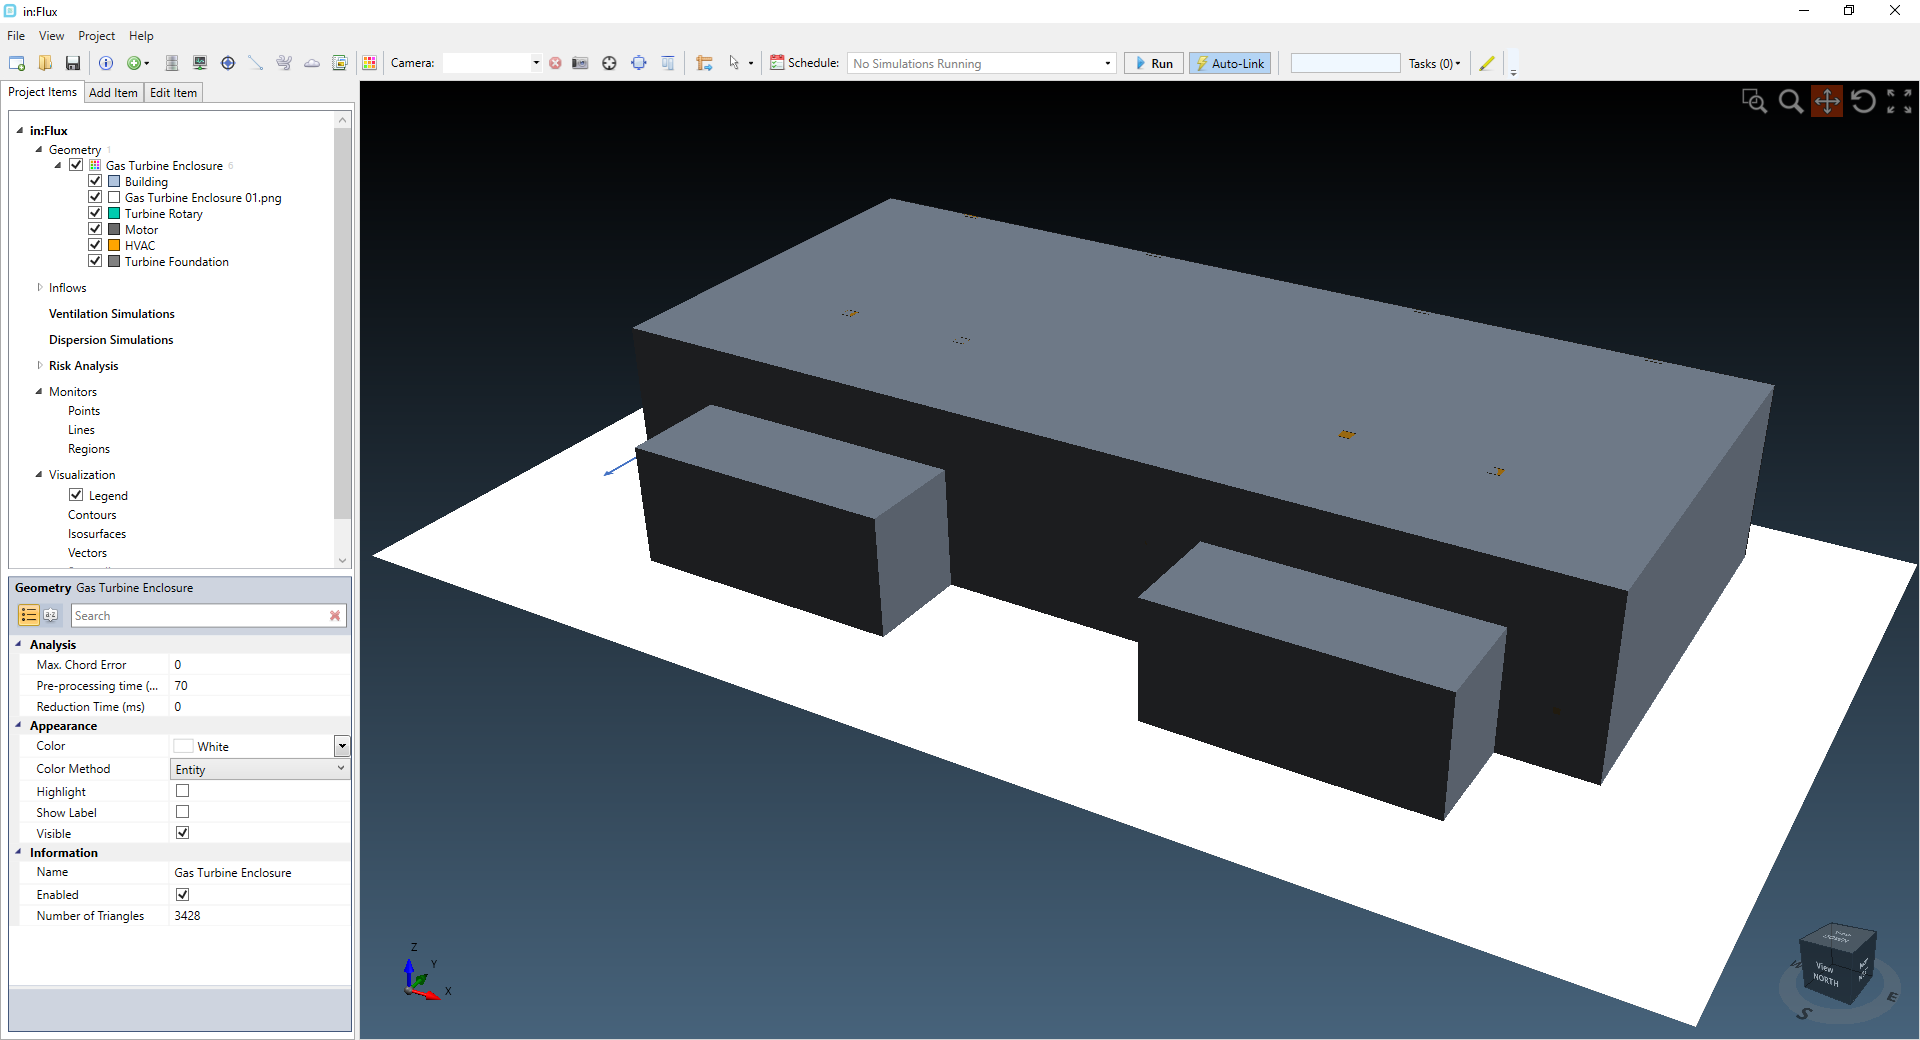
Tutorial 9 - Figure 02 - CAD model imported from another in:Flux file (.ifx) rather than a geometry file
Continue to the next section for some tips on how to maneuver around and work with buildings and other complex CAD models which can be difficult to navigate.