Tutorial 1 - Ventilation Simulation

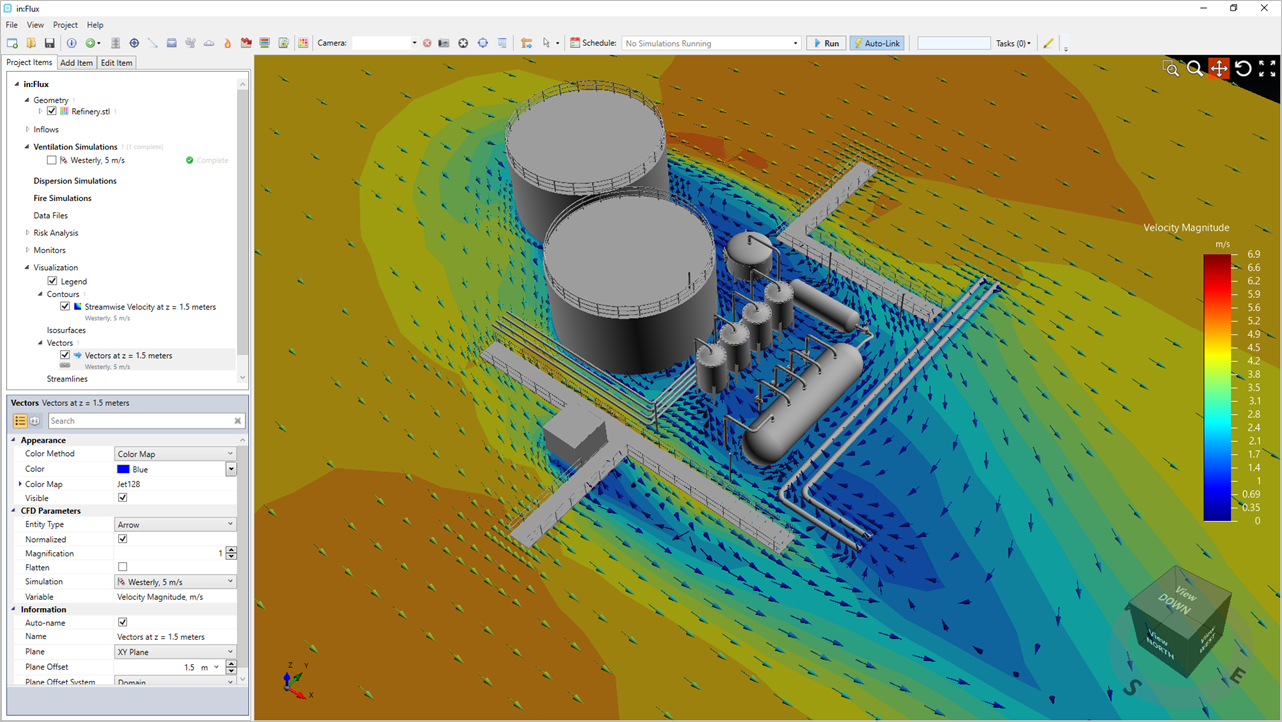
This tutorial will go over the initial setup of in:Flux. A 3D CAD file will first be imported and then a wind profile defined. in:Flux will automatically size the domain and generate the mesh needed for the CFD simulation. The simulation monitor will be examined for showing currently computed mesh and contours as well as indicating residual values of the CFD calculation.
In this tutorial you will learn how to:
-
Import a CAD file into in:Flux
-
Define a single wind (ventilation) simulation
-
Use the simulation monitor to view the mesh and CFD residual information
-
Add contours, vector fields, and streamlines to the project
Files used in this tutorial:
-
Refinery.stl
The geometry for this tutorial is located in the tutorials folder of your in:Flux directory (usually C:\Program Files\inFlux\Tutorials depending on the directory chosen during installation). The geometry can also be loaded by selecting "Refinery (.stl)" from the Load Sample Geometries option under the Help menu.
Contents of Tutorial 1:
Last updated August 15, 2024 with in:Flux v3.21