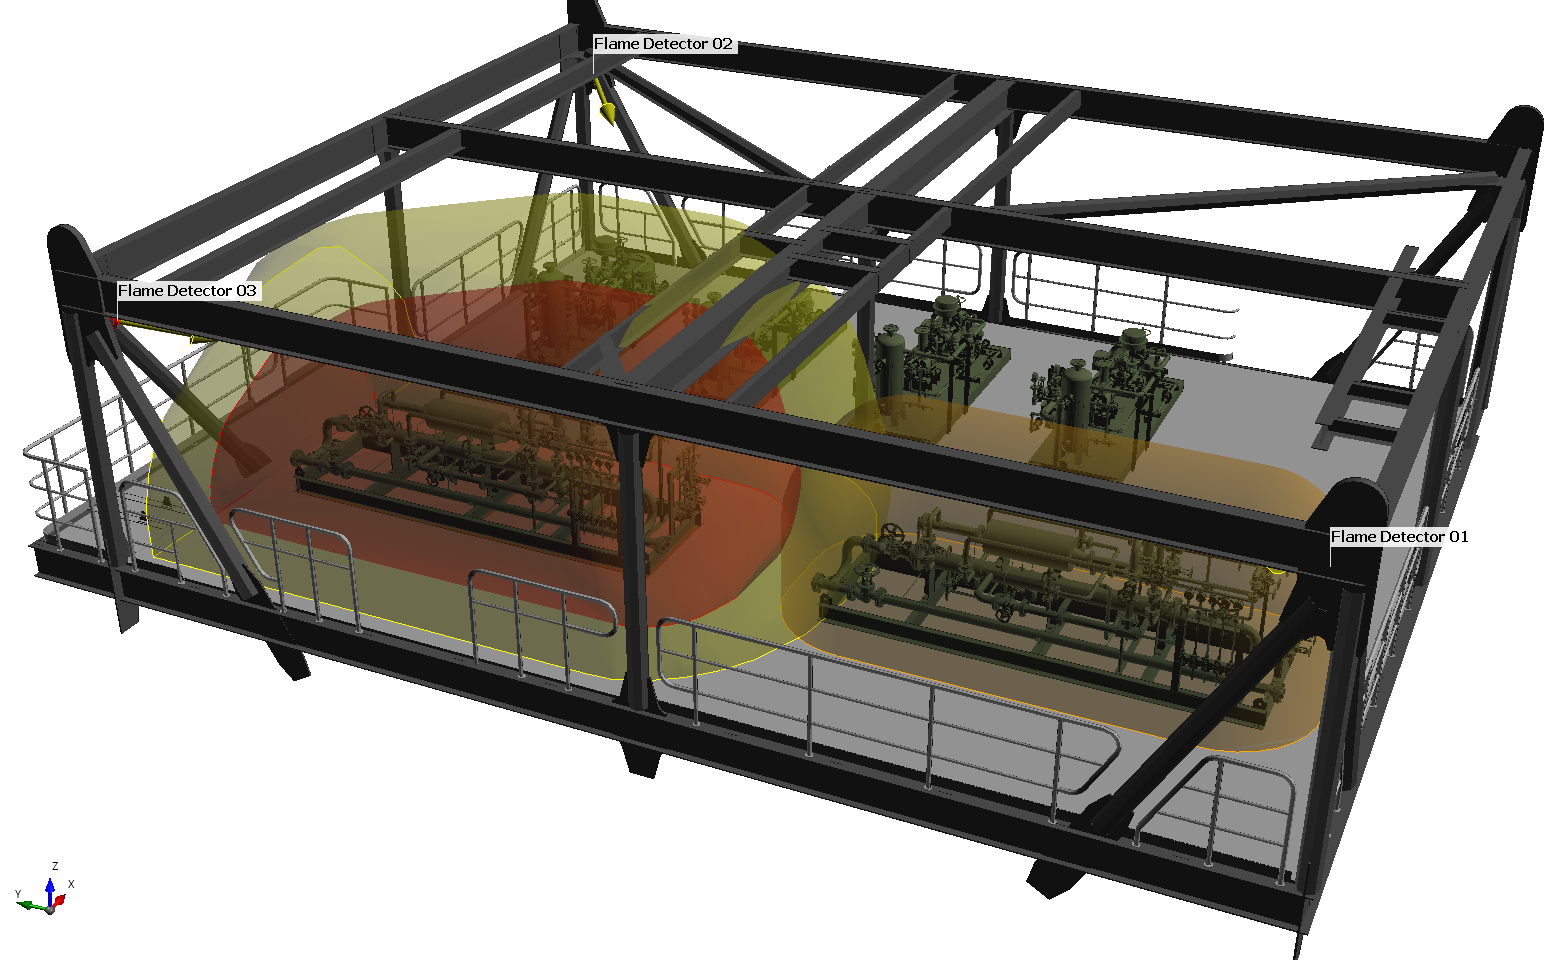
Tutorial 4 - Sub-Zones

Detect3D allows users to add several zones in one project. Each zone can be further divided into multiple sub-zone regions.
A sub-zone is a smaller zone region defined within a larger parent zone with its own risk grade and coverage statistics. In Detect3D coverage statistics are calculated for each zone type and risk grade. A special type of sub-zone called a Null Zone can also be defined to remove volumes deemed not needed in the coverage analysis.
Briefly mentioned in earlier tutorials, each zone and sub-zone in Detect3D has a risk grade associated with it. These risk grades can be edited to facilitate difference performance standards. For a more detailed explanation on Risk Grades, please refer to Tutorial 5.
In this tutorial you will learn how to:
-
Add a sub-zone to a project
-
Add a null-zone to a project
-
Use the equipment selection tool
-
Importing flame detectors from excel
-
View coverage results based on defined sub-zones and assigned risk grades
Files used in this tutorial:
-
Complex Module.obj (13 MB)
-
Flame Detector Layout.xlsx (8 KB) - included in the Detect3D Tutorials.zip (22MB)
The geometry for this tutorial is located in the tutorials folder of the Detect3D directory (usually C:\Program Files\Detect3D\Tutorials depending on the folder chosen during installation). Alternatively, you can load the "Complex Module (.obj)" by selecting it from the Load Sample Geometries option in the Help Menu.
Contents of Tutorial 4: