Tutorial 6 - Advanced Visualizations Guide
The first five tutorials have used the default colors and properties specified by in:Flux when defining new visuals such as contour and isosurfaces. Tutorial 6 will go over more advanced ways of displaying data to best showcase the results of your simulations.
Unlike the previous tutorials which progress from start to finish, Tutorial 6 is more of a guide with several independent sections. Each section will dive into a single topic rather than be connected to the previous step. Feel free to jump around the sections and follow the topics that are most pertinent to you or your current project. You can always come back and search for specific topics via the Search bar on the upper left panel of the User Guide window.
In this tutorial you will learn how to:
-
Change project items coloring and opacity
-
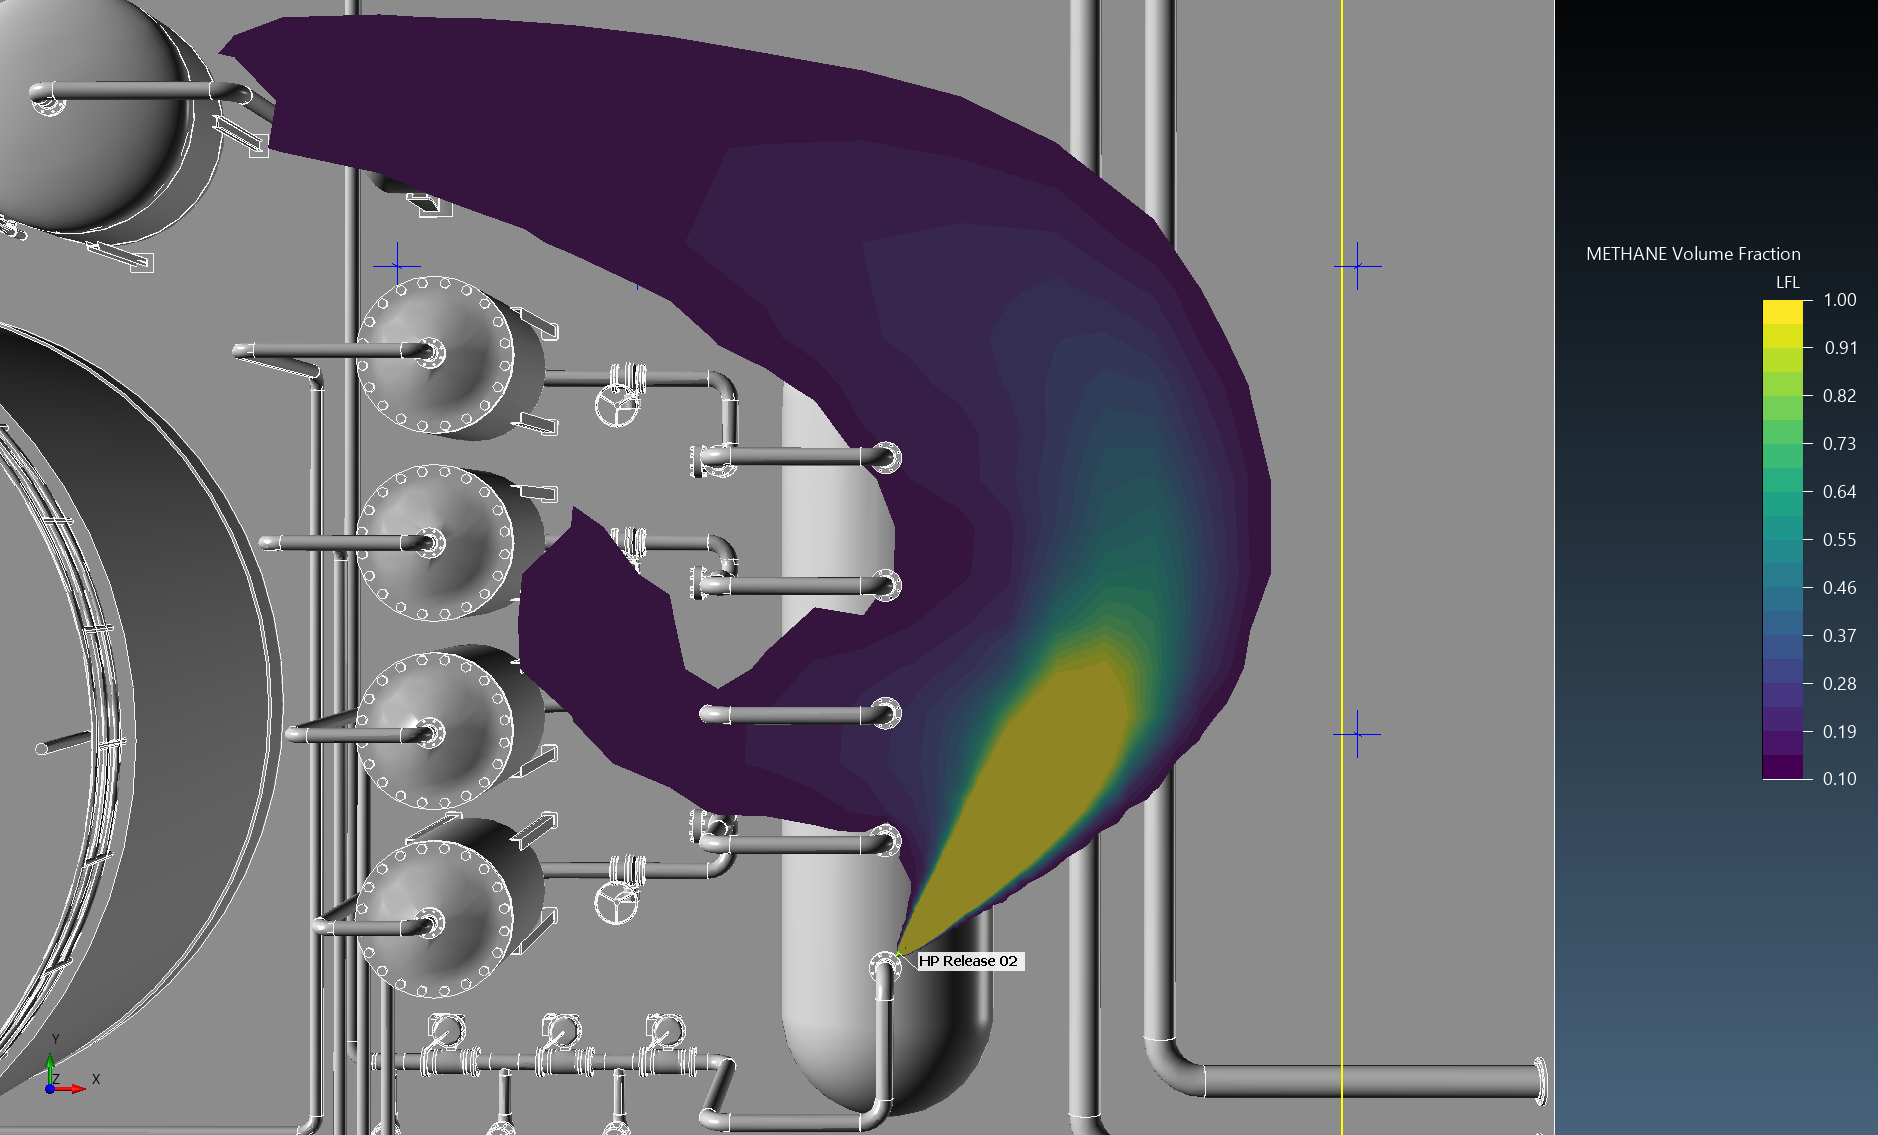
Change visualization Color Methods and Color Maps
-
Edit the colormap of contours, vectors and streamlines
-
Use streamline seed points
-
Assign a simulation to be synced by all visuals in a project
-
Assign all visuals to be synced to a project
-
Export and save images of the 3D window
-
Use the save camera feature and Batch Image Exporter
-
Change the size and visibility of the viewcube
-
Edit label locations and fonts
-
Import an image to show topography or environment
-
Define and show the clip plane
-
Edit the legend
Files used in this tutorial which are included in the inFlux v2.0 Tutorials 01 - 09.zip (84MB):
-
Tutorial 1.ifx
-
Tutorial 2.ifx
-
Tutorial 4.ifx
Contents of Tutorial 6: